Configuring the Scanner Settings
58
3
H
HH
H
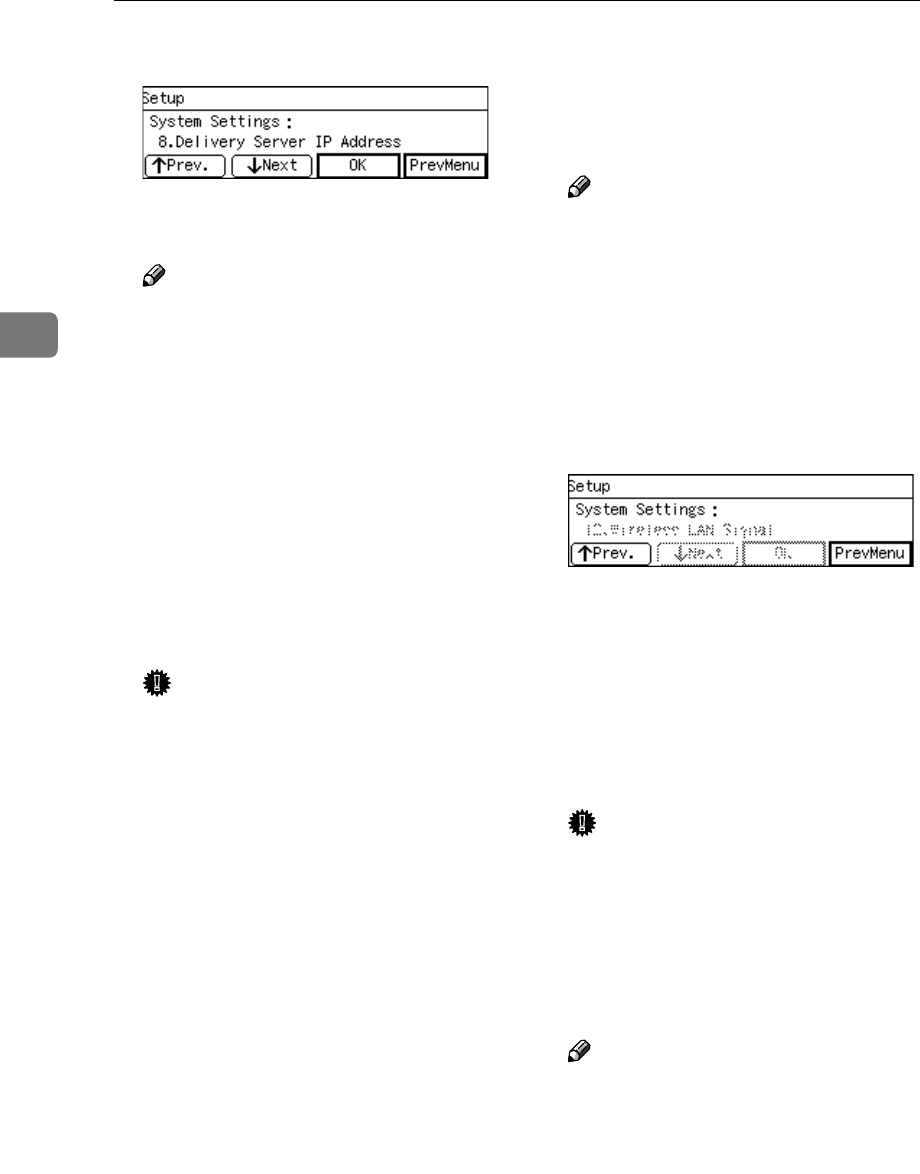
Press [Next].
“9. MAC Address ” appears as the
setup item currently selected.
Note
❒ MAC address is a hardware ad-
dress that uniquely identifies
each machine, and cannot be
changed. Press [OK] to see the
MAC address of this machine,
and then press [Cancel] to return
to the System Settings menu.
I
II
I
By pressing [Next] to display “10.
Transmission Speed ” and “11.
LAN Type ” as the setup item, se-
lect options for each of them in
the same way that you have done
for setting “7. Network Boot ”.
Important
❒
Do not change the setting of “11.
LAN Type ” from “ Ethernet ” to
“ IEEE 802.11b ” using the con-
trol panel of this machine. If you
want to change to “IEEE802.11b”
to use a wireless LAN card, you
need to configure related set-
tings by using the Web Status
Monitor. See
p.186 “Using Wire-
less LAN”
for details.
J
JJ
J
Press [Next].
“12. Wireless LAN Signal ” ap-
pears as the setup item currently
selected.
Note
❒ When an optional wireless LAN
card is in use under infrastruc-
ture mode, you can check cur-
rent condition of wireless LAN
signal by pressing [OK]. When
you are finished, press [Cancel]
to return to the System Settings
menu.
K
KK
K
Press [ PrevMenu]
This returns to the Scanner Fea-
tures menu.
L
LL
L
Press [ Exit ].
This exits the Scanner Features
menu, and returns to the standby
screen that is displayed when you
turn the power on.
Important
❒ Never turn off the power of this
machine before the standby
screen is displayed. Doing so
can discard all the settings you
have configured, and return this
machine to its factory default
status.
Note
❒ Instead of pressing [Exit], you
can press a number key to enter
another setting menu.
M
MM
M
If you have changed the settings
of “7. Network Boot ” and/or “11.
LAN Type ”, turn off the power
and then back on.
The changes to the above settings
are activated.
