


110 Adding and Replacing Parts
www.dell.com | support.dell.com
5
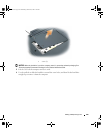
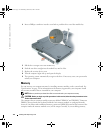
Remove the new drive from its packaging.
Save the original packaging for storing or shipping the hard drive.
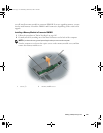
NOTICE: Use firm and even pressure to slide the drive into place. If you use excessive force, you may
damage the connector.
6
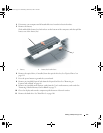
Seat the new hard drive into the bay, and then slide it into the connector by sliding it away
from the screw holes until it is fully seated.
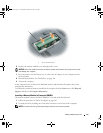
7
Replace the cover and tighten the screws.
8
Install the operating system for your computer. See "Restoring Your Operating System" on
page 99.
9
Install the drivers and utilities for your computer. See "Reinstalling Drivers and Utilities" on
page 97.
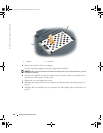
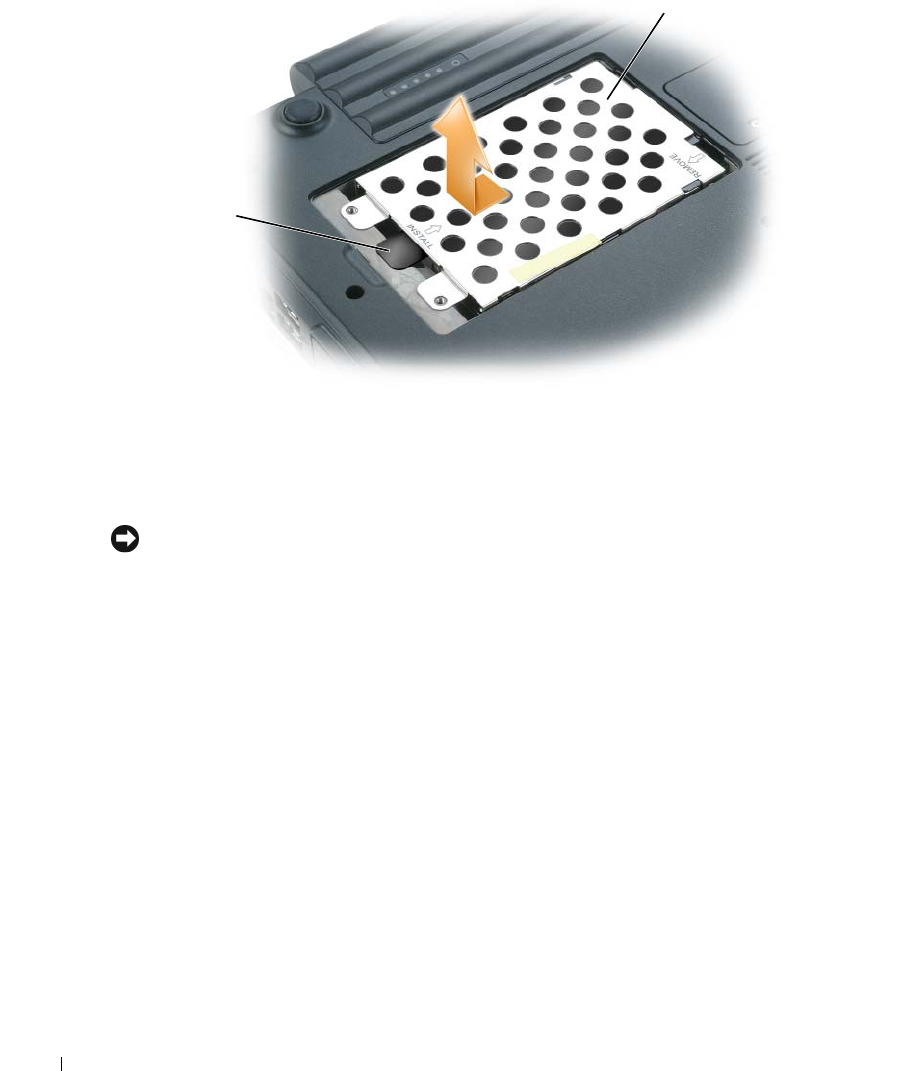
1 pull-tab 2 hard drive
2
1
book.book Page 110 Wednesday, October 26, 2005 1:00 PM