


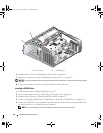

Removing and Installing Parts 119
13
Enter system setup (see "Entering System Setup" on page 134) and select the appropriate
Drive
option.
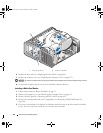
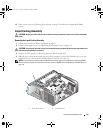
Liquid Cooling Assembly
CAUTION: Before you perform this procedure, follow the safety instructions located in the Product Information
Guide.
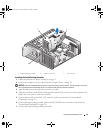
Removing the Liquid Cooling Assembly
1
Follow the procedures in "Before You Begin" on page 75.
2
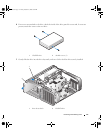
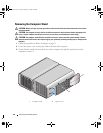
Remove the computer cover (see "Removing the Computer Cover" on page 76).
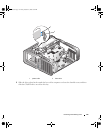
CAUTION: The processor heat sink can get very hot during normal operation. Be sure that the heat sink has had
sufficient time to cool before you touch it.
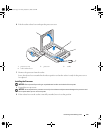
3
Remove the drive panel (see "Removing the Drive Panel" on page 105).
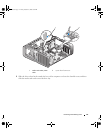
4
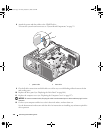
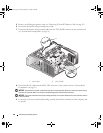
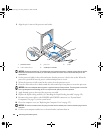
Slide the drive release latch towards the base of the computer to release the shoulder screw(s) on the
CD/DVD drive(s), then slide the CD/DVD drive(s) forward, out of the way.
NOTE: It is not necessary to disconnect the CD/DVD drive cables unless you intend to fully remove the CD/DVD
drive(s) from the computer. For information on how to remove a CD/DVD drive see "Removing a CD/DVD Drive" on
page 114.
1 drive release latch 2 CD/DVD drive
1
2
book.book Page 119 Friday, October 27, 2006 4:02 PM