


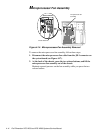
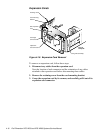

4-22 Dell Dimension XPS H233 and XPS H266 Systems Service Manual
S
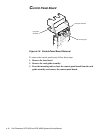
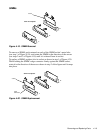
ystem Board
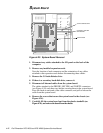
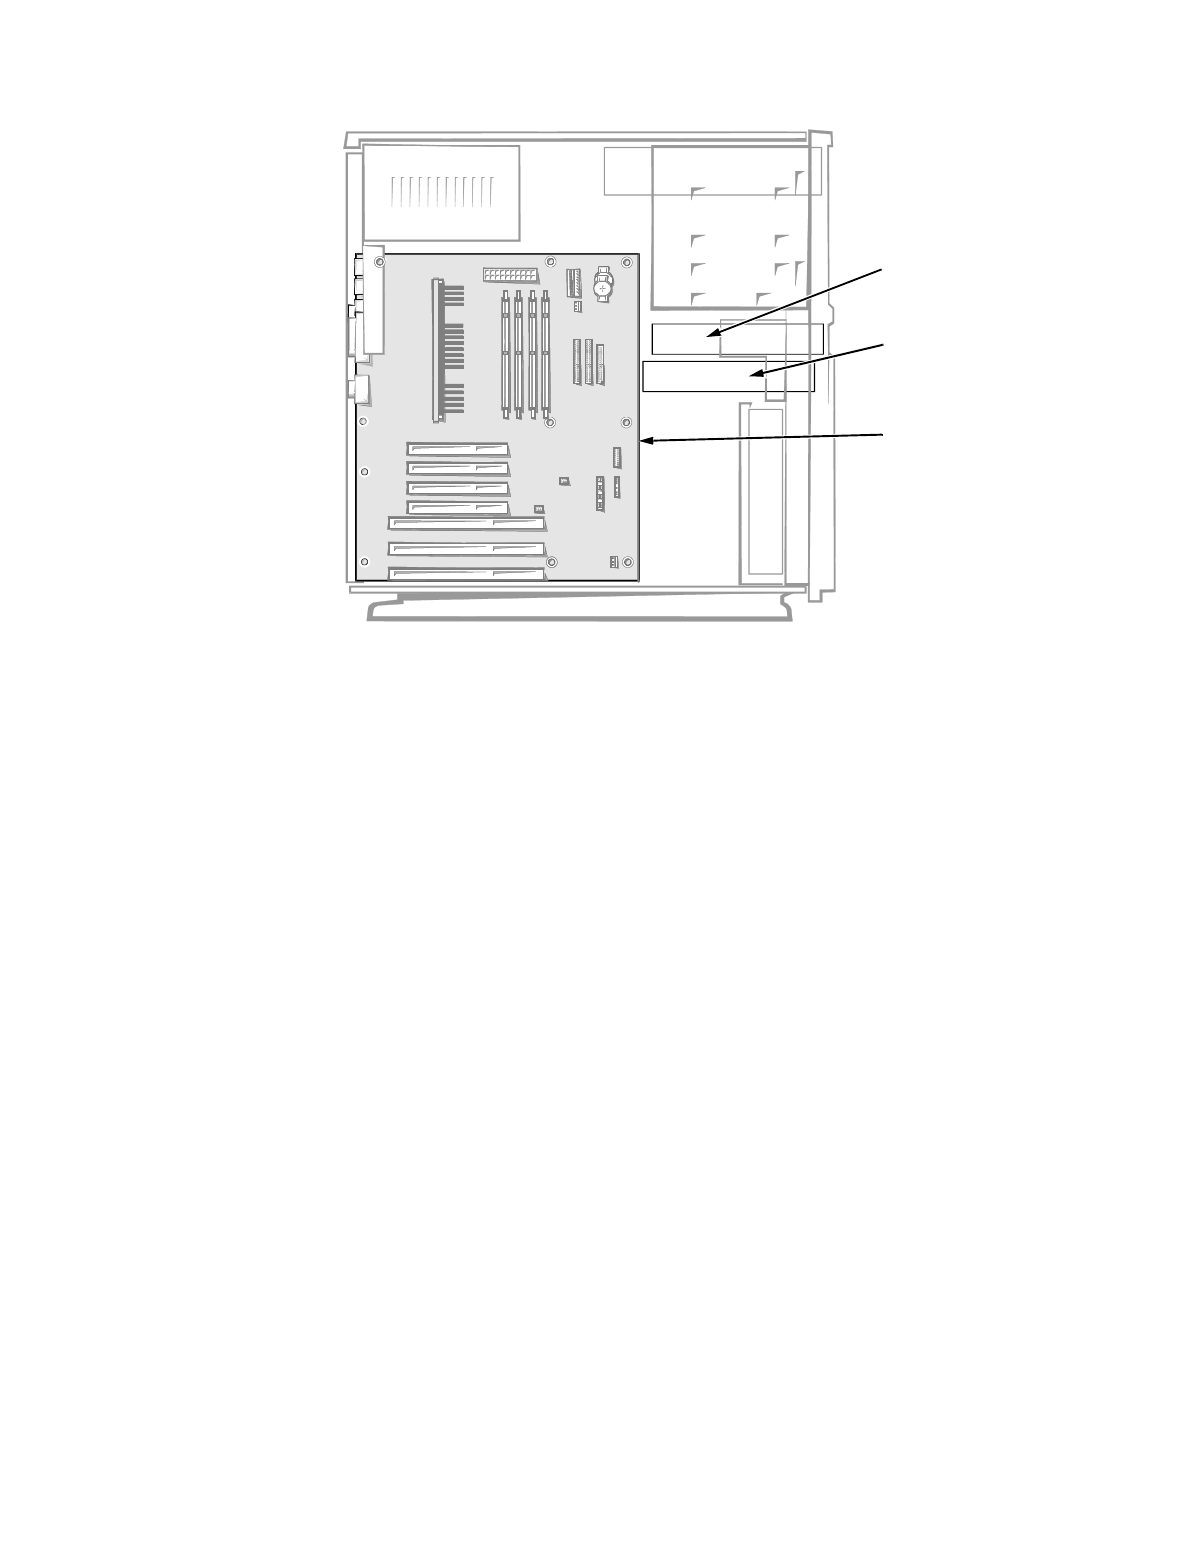
Figure 4-23. System Board Removal
1. Disconnect any cables attached to the I/O panel on the back of the
computer.
2. Remove any installed expansion cards.
Note the location of each connector and the orientation of any cables
attached to the expansion cards before disconnecting these cables.
3. Remove the 3.5-inch diskette drive.
4. If there is a secondary hard-disk drive, remove it.
5. Disconnect all internal cables from the system board.
The cables attached to the PRI IDE, SEC IDE, and FLOPPY connectors
(see Figure 4-18) each have two latches securing them to the system board.
Press the latch on each end of the cable connector, and pull to release the
cable from the system board.
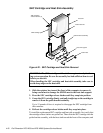
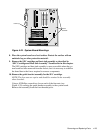
6. Remove the screws that secure the system board to the chassis (see
Figure 4-24).
7. Carefully lift the system board out from the plastic standoffs (see
Figure 4-24), and remove the board from the chassis.
secondary hard-disk
drive bracket
system board
3.5-inch diskette drive