


102
Projector Monitoring and Control using a NetworkProjector Monitoring and Control using a Network
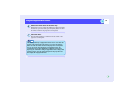
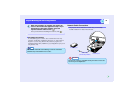
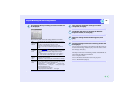
Projector Connection Settings
When the projector is connected to the network, various settings such as
the IP address must be made using the configuration menus before the
projector can be used.
Use the accessory remote control to carry out these operations.
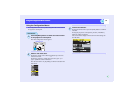
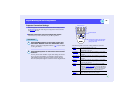
PROCEDURE
Press the [Menu] button on the remote control and
then select "Network" from the "Advanced2" menu.
Refer to "Using the Configuration Menus" ( p.96) for details
on using the menus.
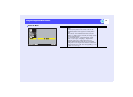
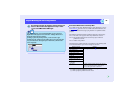
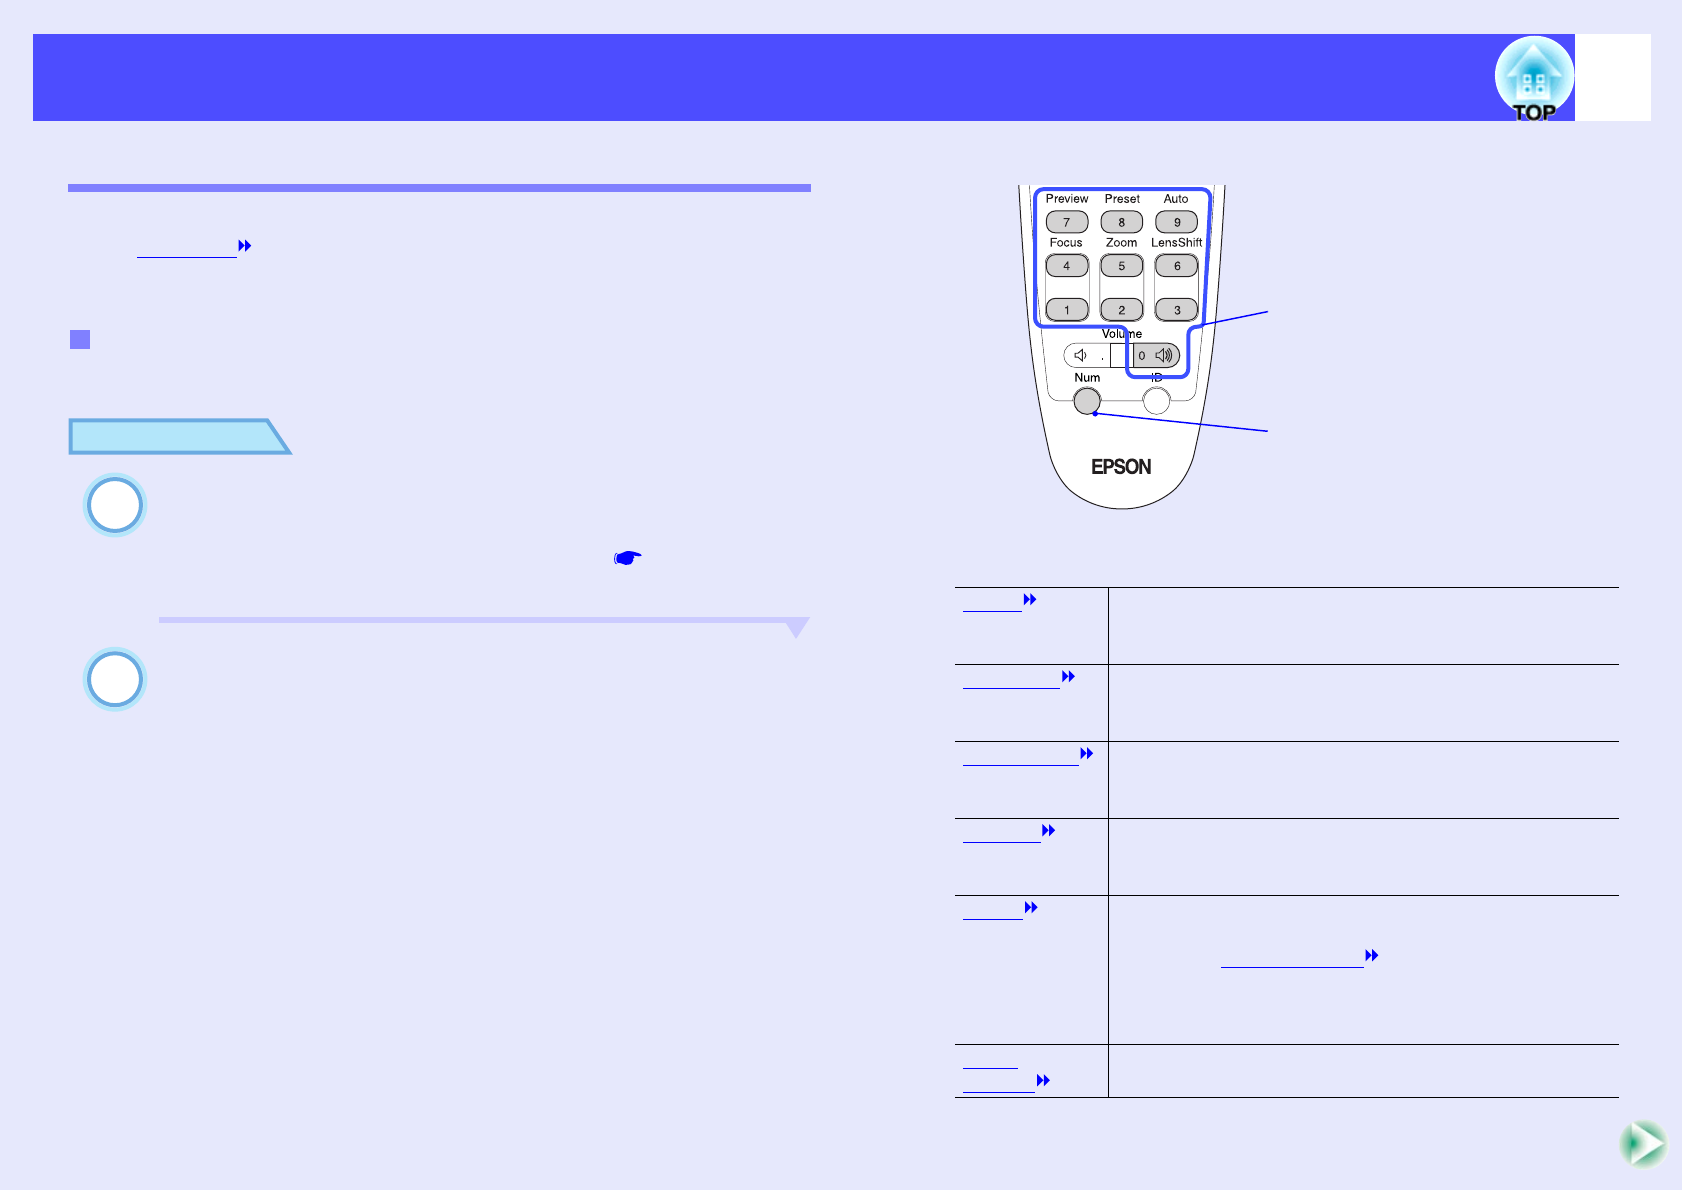
Press the [Num] button on the remote control to enter
numbers.
You may need to enter numbers as part of the settings for an item.
If you press the [Num] button, it will light up and the remote
control buttons shown right can be used as a numeric keypad.
Press the [Num] button again to cancel the numeric keypad mode.
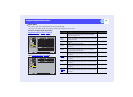
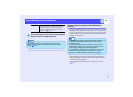
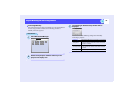
The following table shows the setting details for each item.
Network connections using the configuration menus
1
2
DHCP Sets whether DHCP is used or not.
ON: DHCP is used.
OFF: DHCP is not used.
IP Address
Settings can be entered when "DHCP" is set to "OFF".
Enter the IP address that has been assigned to the
projector.
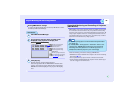
Subnet Mask
Settings can be entered when "DHCP" is set to "OFF".
Enter the subnet mask that has been assigned to the
projector.
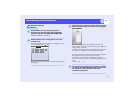
Gateway
Address
Settings can be entered when "DHCP" is set to "OFF".
Enter the IP address for the gateway that has been
assigned to the projector.
SNMP
Enter the IP address to use for notification of SNMP
traps. Two IP addresses can be set as notification
addresses: "Trap IP Address
1" and " Trap IP Address
2". If a notification cannot be sent to the IP address that
is set for "Trap IP Address 1", then it is sent to the IP
address that has been set for "Trap IP Address 2".
MAC
Address
Shows the MAC address for the projector.
Remote control
The buttons inside the box will switch
to numeric keypad mode while the
[Num] button is lit.
Numeric buttons