


Touching Up Your Photos 35
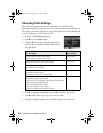
3. Select from these options, then press
OK:
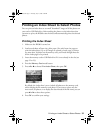
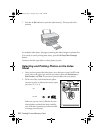
■ PhotoEnhance: Adjusts the brightness, contrast, and saturation of your
photos.
■ P.I.M.: Uses your camera’s PRINT Image Matching or Exif Print settings
(this option is automatically selected when your pictures contain P.I.M.
data).
■ None: Select this if you don’t want to use P.I.M., Exif, or PhotoEnhance.
4. Press
OK again, then press the x Start button to print your photo or photos.
Note:
This setting remains in effect until you change it. To reset all settings to the defaults, see
page 40.
To make manual adjustments in addition to the automatic ones, follow the steps in the
next section.
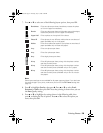
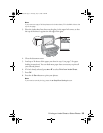
Manually Adjusting Your Photos
First, select the photo or photos you want to print, then follow these steps:
1. Press the
x Print Settings button.
2. Press d or u
to choose one of these options, then press r.
■ Color Effect: choose Off, Sepia (for an old-fashioned brown effect) or
B&W
(for black and white printing)
■ Brightness: choose Standard, Brighter, Brightest, Darker, or Darkest
■ Contrast: choose Standard, Higher, or Highest
■ Sharpness: choose Standard, Sharper, Sharpest, Softer, or Softest
■ Saturation: choose Standard, Higher, Highest, Lower, or Lowest
■ Density: available only for CD/DVD printing; choose Standard,
Darker, or Darkest
3. Adjust any settings as necessary, then press OK.
Note:
These settings remain in effect and apply to all selected photos until you change
them. To reset all settings to the defaults, see page 40.
4. Press OK again, then press the x Start button to print your photo or photos.
RX580.book Page 35 Thursday, July 27, 2006 4:04 PM