Printing Photos on a CD or DVD 49
4. Press the
x Print Settings button. Press d or u to select the following:
■ Media Type: make sure CD/DVD is selected.
■ Paper Type: make sure CD/DVD is selected.
■ Paper Size: make sure CD/DVD is selected.
■ Layout: choose from the following layouts:
■ To adjust the printing position, select CD Inner-Outer, press r, and
adjust the dimensions, as described on page 50.
■ Select other settings as necessary. For more information, see page 28.
5. When you are finished making print settings, press
OK.
6. Press l or r to choose a photo, then press the
Copies + button.
For multiple photo layouts, repeat this step for each photo you want to add. If
you don’t select enough photos for the layout you have chosen, your CD will
have blank spaces.
7. Press the x
Start button to print on your CD or DVD.
Note:
If you need to cancel printing, press the y Stop/Clear Settings button.
8. When you are finished printing, remove the CD/DVD tray from the RX580.
To return the font tray to the paper position, see page 54.
Note:
After you print, handle the CD or DVD carefully. To allow the ink to dry fully, you
may need to wait up to 24 hours (depending on the disc) before playing the disc or
inserting it in a drive. Keep printed discs away from moisture and direct sunlight.
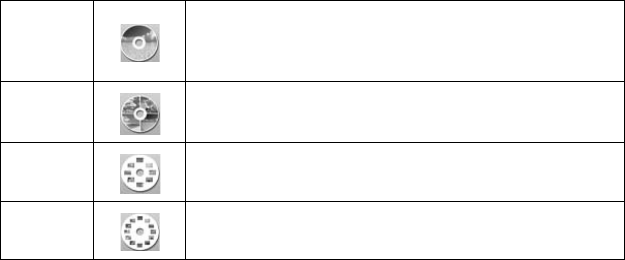
1-up
One photo is centered on the CD/DVD (not
recommended for close-up pictures of faces,
because of the hole in the center).
4-up
Four photos are printed on the CD/DVD, with one
photo in each quarter.
8-up
8 photos are printed on the CD/DVD, arranged in
a circle.
12-up
12 photos are printed on the CD/DVD, arranged
in a circle.
RX580.book Page 49 Thursday, July 27, 2006 4:04 PM


