


DXP DVI, DXP DVI Pro, and DXP HDMI Series • Operation 20
4. Press and release the Enter button to accept the tie or to break an existing tie.
5. Repeat steps 1 through 4 to create or clear additional ties until the desired
configuration is complete.
NOTES: • Only one input can be tied to an output. If you tie an input to an output
that is already tied to another input, the older tie is broken in favor of the
newer tie.
• If an input with no tie is selected, only the button for the selected input
lights (no output buttons light).
• If you press the input button for an I/O grouped input and then try to
select an output in a different group, the associated output button
cannot be selected, and the selected input button remains lit (see “I/O
Grouping” on page 32 for more information).
• As each input and output is selected, the associated output button
blinks the appropriate color to indicate a tentative tie. Buttons for
outputs that were already tied to the input light the appropriate color
steadily. Outputs that are already tied can be left on, along with new
blinking selections, or toggled off by pressing the associated output
button.
• When the Video and Audio buttons are lit, if an input with an audio tie
but no video tie is selected, the selected input button lights amber and
the output button lights the appropriate color (red, green, or amber).
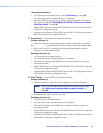
Example 1: Creating a Set of Ties
In the following example, input 5 is tied to outputs 3, 4, and 8. The steps show the front
panel indications that result from your actions.
NOTE: This example assumes that there are no ties in the current configuration.
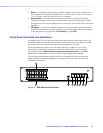
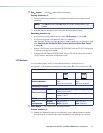
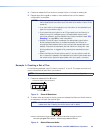
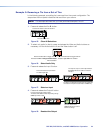
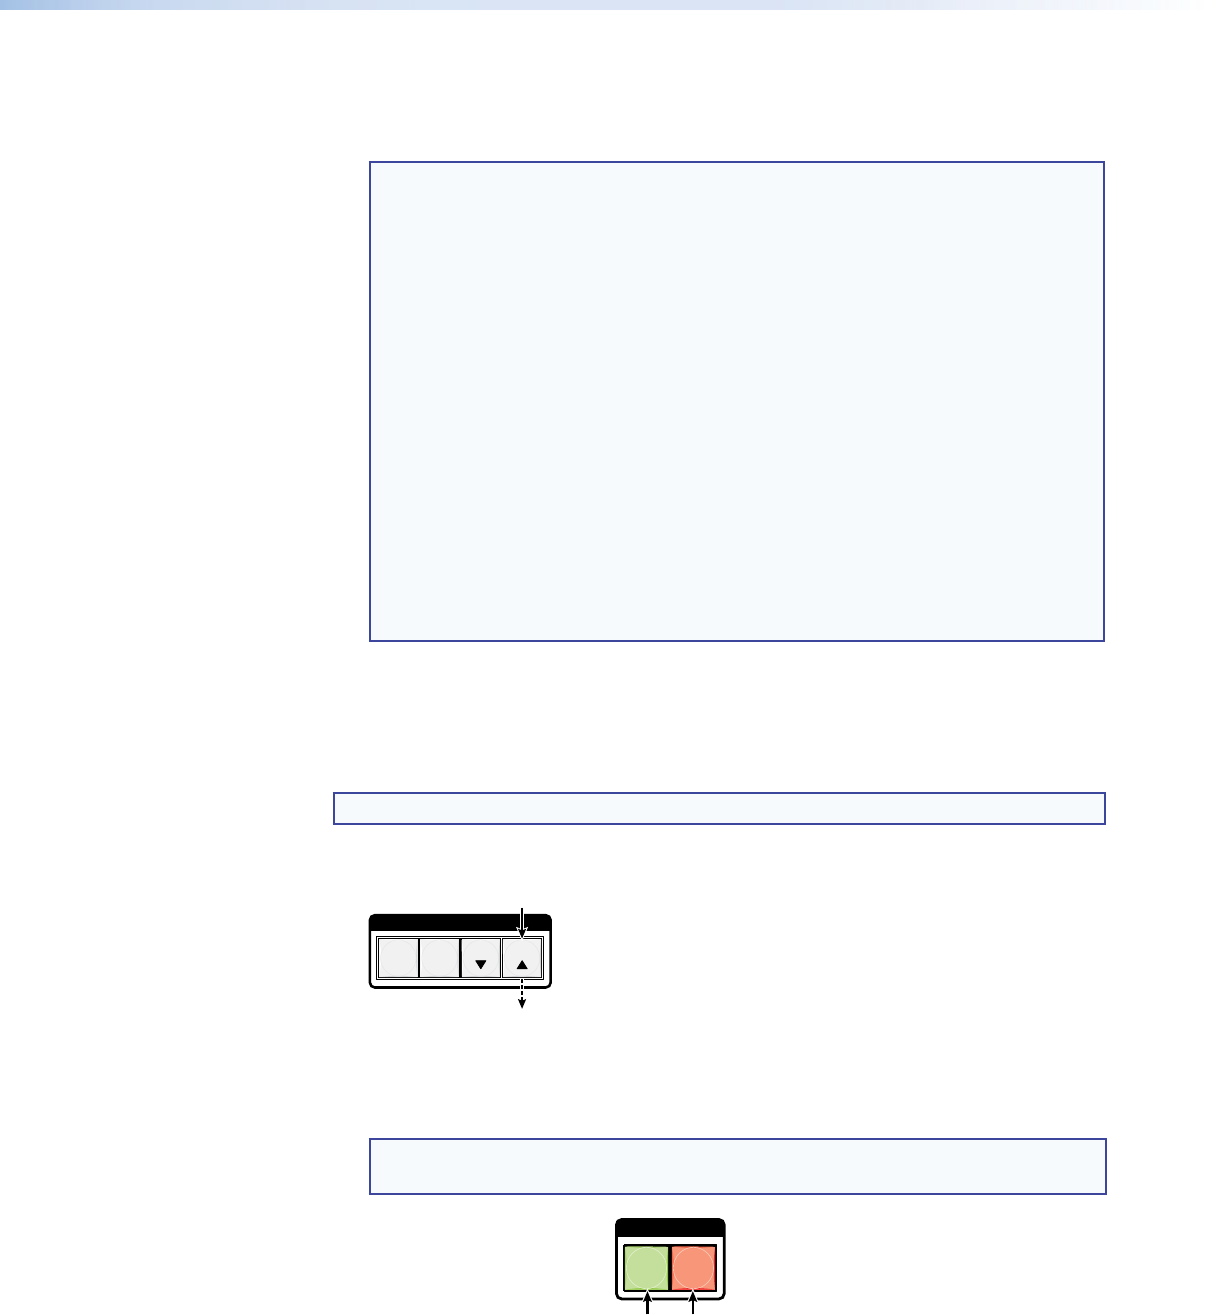
1. Press and release the Esc
>
button.
C O N T R O L
PRESET
ENTER
ESCVIEW
Press the Esc button to clear all selections.
The button blinks once.
Figure 13. Clear All Selections
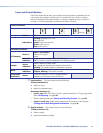
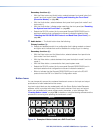
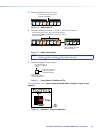
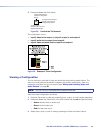
2. To select video and audio for the tie, press and release the Video and Audio buttons
as necessary until both the buttons light.
NOTE: Because the DXP DVI series models do not support audio, you cannot
create audio ties. Pressing the Audio button has no effect.
I / O
VIDEO AUDIO
Press the Video button to toggle on and off.
The button lights green when selected.
Press the Audio button to toggle on and off.
The button lights red when selected.
Figure 14. Select Video and Audio