


DXP DVI, DXP DVI Pro, and DXP HDMI Series • Matrix Software 87
Uploading HTML Files
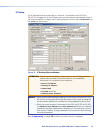
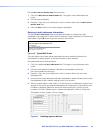
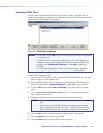
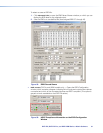
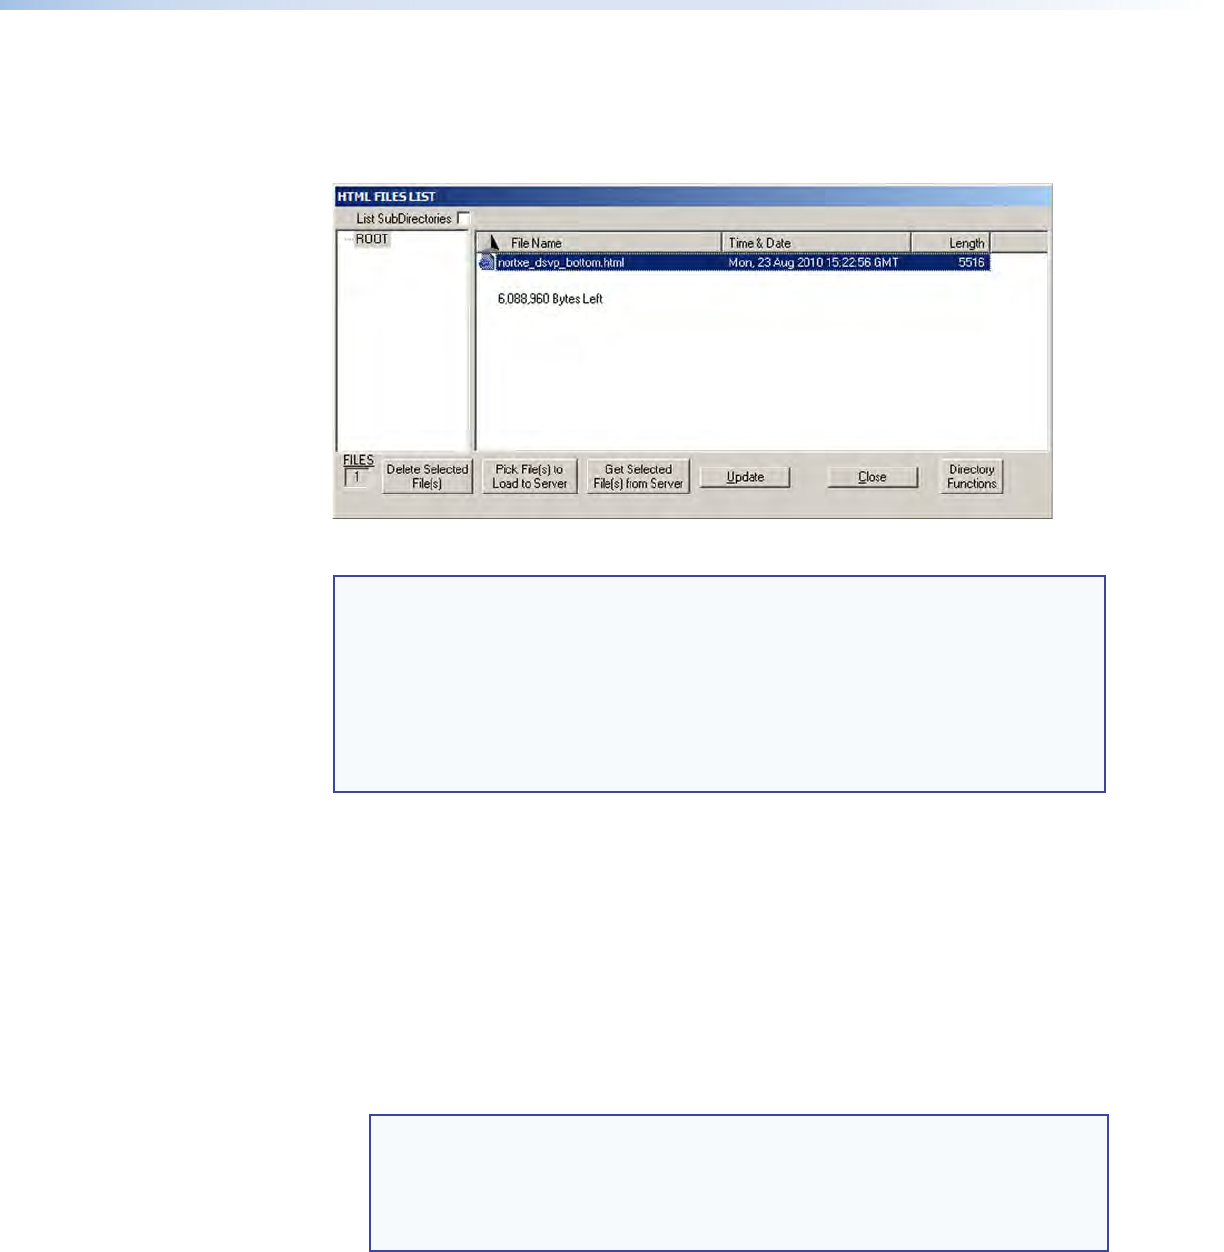
You can create customized HTML pages for the DXP to display. The HTML Files List
window (shown below) provides a way to view the contents of the DXP file system and to
upload custom HTML pages to the switcher.
Figure 83. HTML Files List Window
NOTES: • The file listed in figure 83 is shown for example only and may not be present
on your switcher.
• The HTML Files List window is for inserting your own HTML pages. This
is not the window used to replace the firmware that controls all switcher
operation (see “Updating the Firmware” on page 85 to update the
firmware).
• The following characters are invalid or not recommended in file names:
+ ~ , @ = ` [ ] { } < > ‘ ’ “ ” ; : | \ ? and {space}.
Upload HTML pages as follows:
1. Connect the PC to the DXP via the rear panel Remote RS232/RS422 port, the front
panel Config port, or the Ethernet port.
2. Start the Matrix Switcher Control Program and connect to the DXP switcher (see
steps 1 through 4 under “Using the Software” on page 73 for the procedure).
3. From the Tools menu, select HTML File Manager. The HTML Files List window
opens.
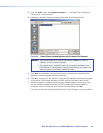
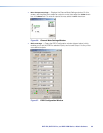
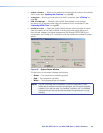
4. Click the Pick File(s)to Load to Server button. The Select Files to Upload to
Extron Server window opens.
5. Navigate to the folder where you saved the HTML files and select them.
NOTES: • To select multiple files, hold the <Ctrl> key while you click on the desired
files.
• If you want one of the HTML files that you created to be the default
start-up page, name the file “index.html.” The DXP switcher looks for
that file name when you first connect to it using an Internet browser.
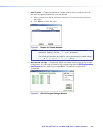
6. Click the Open button. The file uploading process may take a few minutes.
7. Click the Update button to confirm the upload.
8. Click the Close button to exit the HTML Files List window.