RESTRICTED USE ONLY Fargo Electronics, Inc.
DTC500 Series Card Printer/Encoders User Guide (Rev. 5.0)
308
Confirming the Printer operations (continued)
Step Procedure
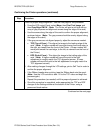
7 Check for proper image alignment. See the next page for this procedure.
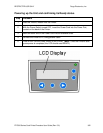
a. From the LCD control Panel, select Menu, then Print Test Image, and
then Gray/Align YMC/K. (Note: The Printer will print a self-test with an
array of gray squares and alignment arrows along the edge of the card.)
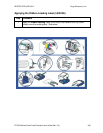
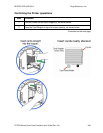
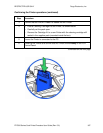
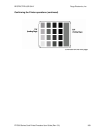
b. Use the arrows along the edge of the card to confirm the proper alignment,
as shown below. (Note: The gray arrows should be evenly aligned along
the edges of the card.)
c. If the gray arrows are not aligned properly, adjust the arrows as needed.
TOF (Top of Form): This aligns the image to the leading edge of the
card. (Note: A higher number will move print away from card edge, to
the right, as viewed from the front of the Printer. A lower number will
move print toward the card edge, to the left, as viewed from the front of
the Printer.)
EOF (End of Form): This aligns the image to the trailing edge of the
card. (Note: A higher number will move the print to the right
adjustment to roughly match the TOF alignment arrows. A lower
number will move the print to the left adjustment to roughly match the
TOF alignment arrows.)
d. After making changes through the LCD settings, print a Self Test in order to
confirm the proper alignment.
e. If the Ribbon breaks when printing, tape the Ribbon back onto the spool.
(Note: Use the LCD controls to add +10 to the TOF value and begin the
process again.)
f. Repeat this procedure (as needed) until the proper alignment is achieved.
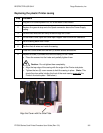
g. Once this procedure is completed, make appropriate the TOF and EOF
changes to the Settings sticker at the bottom of the Printer, using a
permanent black marker.
Continued on the next page


