


FARGO Electronics Inc.
HDP700 Series Card Printer 4-47
8. Remove the two screws (130971) and nuts (130985) located on each side of the outside of the
Power Cord Receptacle.
9. Remove the Power Cord Receptacle.
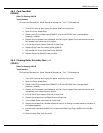
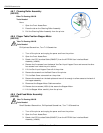
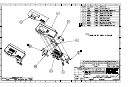
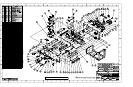
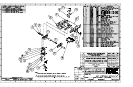
4.9.3 Main Print Board
(A000030)
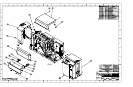
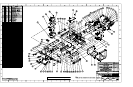
Refer To Drawing 840161
Tools Needed
Torx T-10 Screwdriver, Phillips-head Screwdriver
1. Turn off the printer and unplug the power cord from the printer.
2. Remove the screws from the Back Cover of the printer.
3. Tilt the Back Cover outwards from the printer.
4. Unplug the cable connections to the Main Board.
5. Remove the five screws (F000169) that secure the Main Board to the Rear Bracket
(D840585).
6. Take the Main Board from the printer.
NOTE
Refer to Table 4-1 for cable connections.
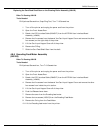
4.9.4 Lamination Board
(140402)
Refer To Drawing 840161
Tools Needed
Torx T-10 Screwdriver, Phillips-head Screwdriver
1. Turn off the printer and unplug the power cord from the printer.
2. Remove the screws from the Back Cover of the printer.
3. Tilt the Back Cover outwards from the printer.
4. Unplug the cable connections to the Lamination Board.
5. Remove the four screws (F000169) that secure the Lamination Board.
6. Lift the Lamination Board from the printer.
NOTE
Refer to Table 4-1 for cable connections.