RPM4™ OPERATION AND MAINTENANCE MANUAL
© 2004-2007 DH Instruments, a Fluke Company Page 120
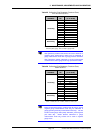
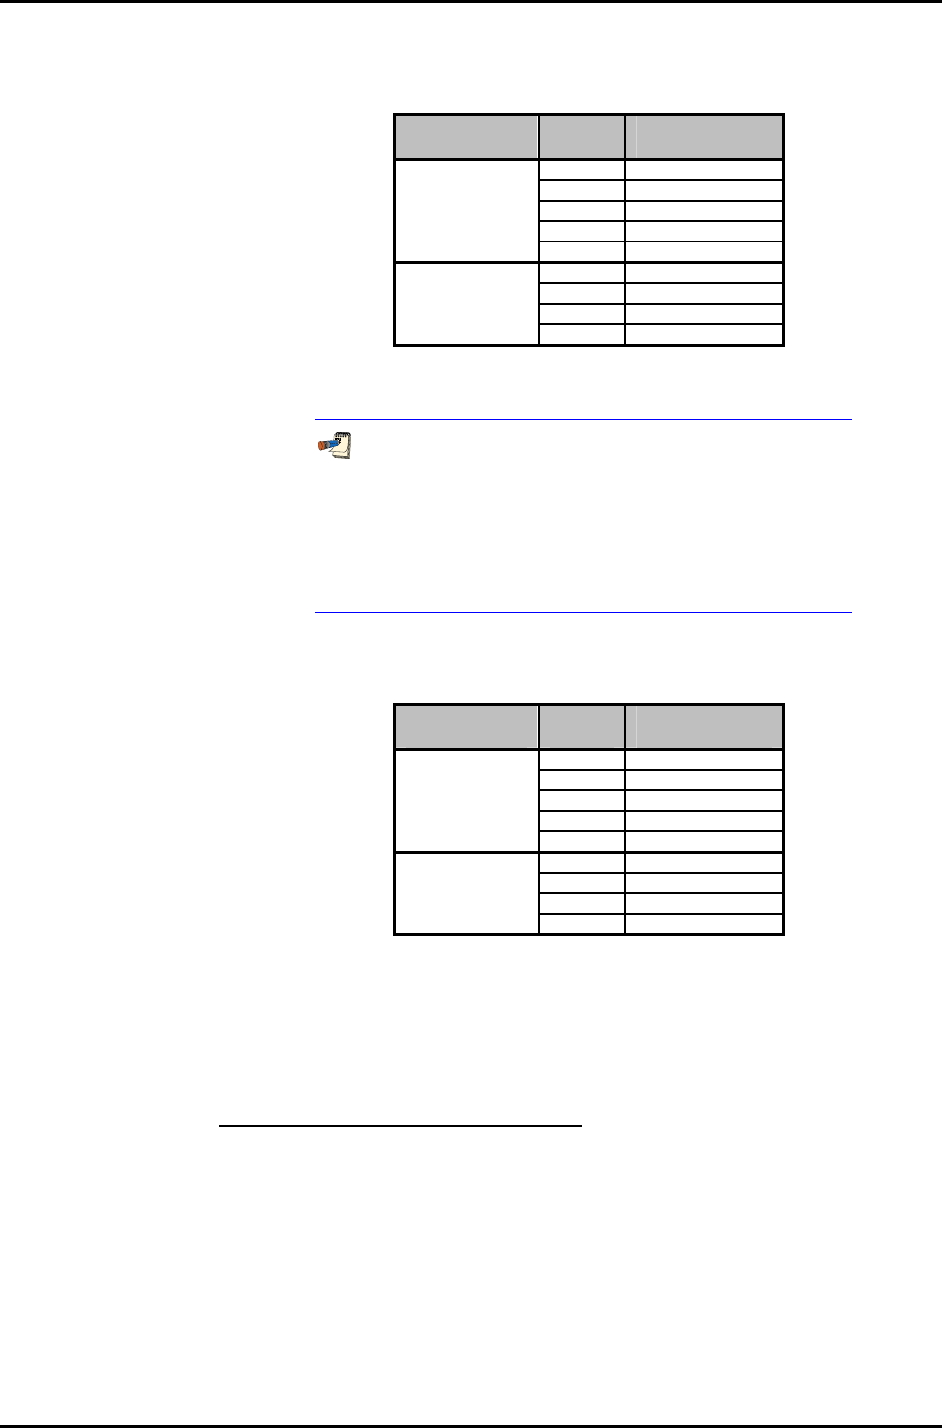
Table 23. Calibration Point Sequence, Standard Class,
BGxxx Q-RPTs
CALIBRATION
SEGMENT
POINT
NO.
POINT
[% OF SPAN]
1
1 0 %
2 25 %
3 50 %
4 75 %
Ascending
5 100 %
6 75 %
7 50 %
8 25 %
Descending
9 0 %
1. The BG15K span is – 15 to + 15 kPa, 30 kPa total.
Therefore, 0 % is – 15 kPa, 25 % is – 7.5 kPa, 100 % is
+ 15 kPa, etc.
BGxxx (bi-directional gauge) Q-RPTs that will NOT be used
in negative gauge measurement mode may be calibrated in
gauge (positive pressures) measurement mode only. Use the
Standard Class gauge mode (Gxxx) calibration point
sequence (see Table 22). BGxxx Q-RPTs calibrated in gauge
measurement mode only should not be used in negative
gauge mode.
Table 24. Calibration Point Sequence, Standard Class,
BA100K Q-RPT
CALIBRATION
SEGMENT
POINT
NO.
POINT
[% OF SPAN]
1
1 0 %
2 25 %
3 50 %
4 75 %
Ascending
5 100 %
6 75 %
7 50 %
8 25 %
Descending
9 0 %
1. The BA100K span is 70 to 110 kPa absolute.
5.2.4.2 PREMIUM CLASS Q-RPTS
See additional information in Section 5.2.4 concerning exercising the Q-RPT and
dwell time at pressure points.
Verification of Premium Class Q-RPTs
When verifying (as opposed to calibrating) a Premium Q-RPT, it is not necessary
to include the higher density of points that is recommended for determination of the
calibration coefficients. A 5 points up, 2 points down (50%, low point) run is
adequate. To verify that the uncertainty turndown with AutoRange (see Sections
3.3.4, 1.2.2.1) is in tolerance, it is recommended that the verification of a Premium
Q-RPT include verification of an AutoRanged span of 30 % of the maximum
Q-RPT span. For example, verify an A7M Q-RPT in the default range of 0 to 7 MPa
(1 000 psi) and in the AutoRange range of 2.1 MPa (300 psi).


