How to Perform a Scan (for Mac OS Users)
197
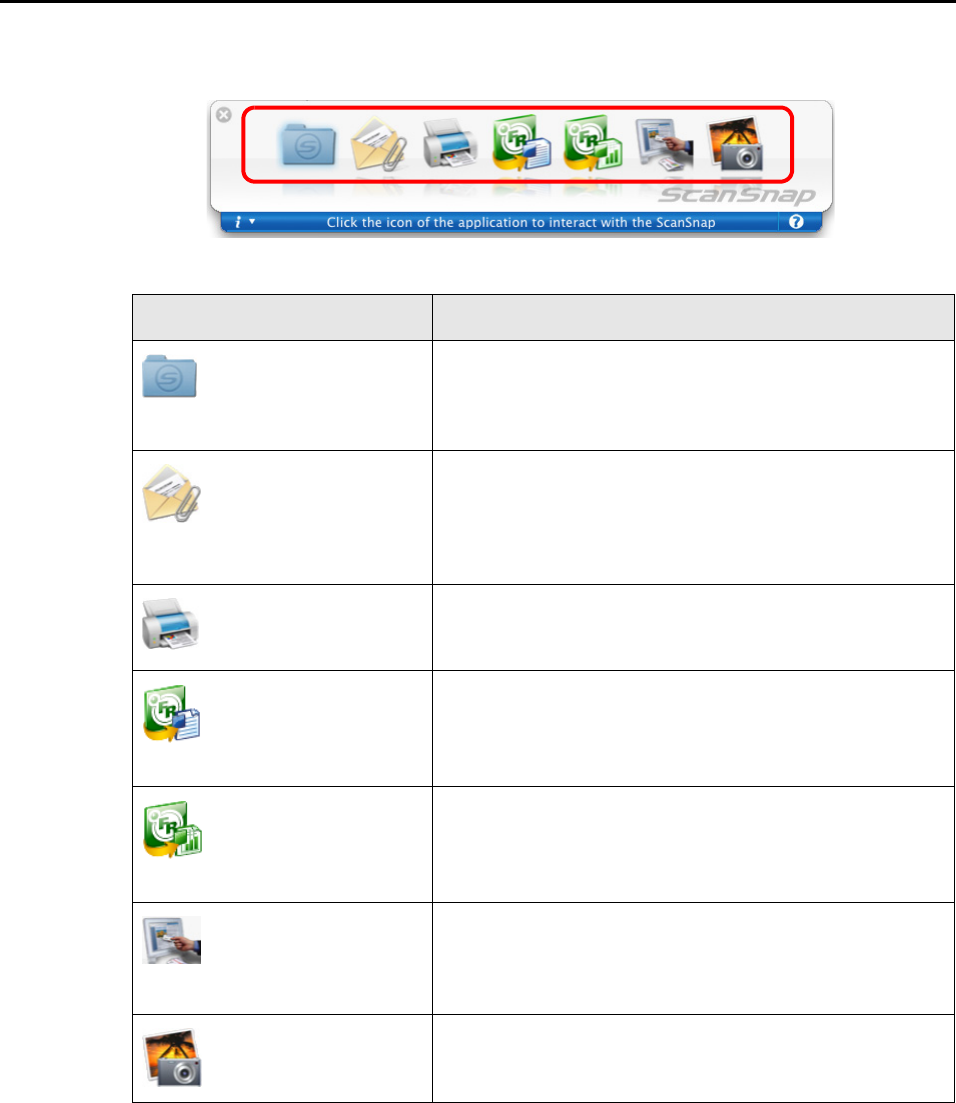
9. From the Quick Menu, click an icon for the item to be performed.
⇒ The corresponding action of the selected item is performed.
*1: The icon for this item is displayed only when ABBYY FineReader for ScanSnap is installed.
*2: The icon for this item is displayed only when Cardiris is installed.
*3: The icon for this item is displayed only when iPhoto 5 or later is installed.
Item Description
Scan to Folder PDF or JPEG files are created from the scanned image data
and saved in a specified folder.
For details about how to operate after this button is selected,
refer to "Saving Data in the Specified Folder" (page 223).
Scan to E-mail PDF or JPEG files are created from the scanned image data,
and an e-mail program is started with the PDF or JPEG files
attached to an e-mail message.
For details about how to operate after this button is selected,
refer to "Sending Files by E-Mail" (page 230).
Scan to Print Scanned image data are printed with the printer.
For details about how to operate after this button is selected,
refer to "Using the ScanSnap as a Copy Machine" (page 238).
Scan to Word (*1) Scanned image data are text-recognized and converted into
Word files.
For details about how to operate after this button is selected,
refer to "Converting into Word/Excel Documents" (page 244).
Scan to Excel (*1) Scanned image data are text-recognized and converted into
Excel files.
For details about how to operate after this button is selected,
refer to "Converting into Word/Excel Documents" (page 244).
Cardiris (*2) Scanned card image data are text-recognized and saved in
Cardiris.
For details about how to operate after this button is selected,
refer to "Scanning Business Cards" (page 250).
iPhoto (*3) Scanned image is saved in iPhoto.
For details about how to operate after this button is selected,
refer to "Saving Data in iPhoto" (page 258).
