Chapter 2: Installing and Setting Up your Autoloader www.gateway.com
14
General preparation for rack mount installation
To prepare for rack mount installation:
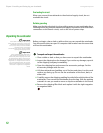
Warning
Failure to take these safety steps may
result in personal injury or equipment
damage.
1 Lower the cabinet feet.
2 Extend the cabinet’s anti-tip device, if available.
An anti-tip device may be extendable legs or similar equipment used to
stabilize the cabinet. This anti-tip equipment is to help avoid
over-balancing the cabinet when installing or removing equipment.
Caution
Do not remove the top cover of the
autoloader during the installation
process. Removing the top cover could
result in damage to the autoloader.
3 Make sure that the cabinet and all rack mounted equipment have a
reliable ground connection.
4 Make sure that the total current of all rack mounted components
(including the autoloader) does not exceed the current rating of the power
distribution unit or outlet receptacles.
5 Secure the help of at least one other person. At least two people are
required to safely install the autoloader into a rack cabinet.
Installing and removing the V-rail kit
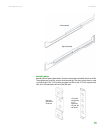
The V-rail is a set of rails, plates, and mounting hardware that lets you install
the autoloader into a rack. This is not a slide rail kit, but allows some movement
from the rack cabinet for easier access or removal of the autoloader.
The V-rails come already mounted to the chassis of your SuperLoader3.
Requirements
The V-rail can be used in many rack cabinet structures.
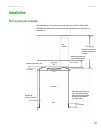
Front to rear rail spacing range is 25.75 – 34.50 inches (654.05 – 876.30 mm).
This range accommodates varying cabinet depths. The vertical rail thickness is
either 0.080 inch (2.03 mm) or .105 inch (7.14 mm).
Vertical rail hole types
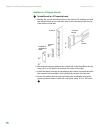
The V-rail can be used with the following rack hole types:
■ .375 inch (9.53 mm) square through-holes
■ .281 inch (7.14 mm) diameter through-holes
■ 10-32 UNF-2B threaded holes
■ M6–1-6H threaded holes


