


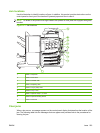
WARNING! To avoid electrical shock, remove any necklaces, bracelets, or other metal items before
reaching into the inside of the product.
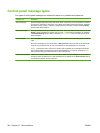
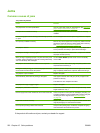
Type of jam Procedure
13.JJ.NT Jam below control panel See AREA 1: Clear jams in the output bin on page 224.
13.JJ.NT Fuser Area Jam
13.JJ.NT Fuser Wrap Jam
13.JJ.NT Transfer And Fuser Jam
See AREA 2: Clear jams in the fuser on page 226.
13.JJ.NT Jam Inside Right Door See Clear jams in the duplex area on page 230.
13.JJ.NT Jam In Tray 2
13.JJ.NT Transfer Area Jam
See AREA 5: Clear jams in Tray 2 and the internal paper path
on page 233.
13.JJ.NT Jam In Tray 1 See AREA 6: Clear jams in Tray 1 on page 236.
13.JJ.NT Jam In Tray 3
13.JJ.NT Jam In Tray 4
13.JJ.NT Jam In Tray 5
13.JJ.NT Jam Inside Lower Right Door
13.JJ.NT Jam In Input Accessory
See AREA 7: Clear jams in optional Trays 3, 4, and 5
on page 239
13.JJ.NT Jam In Left Accessory See AREA 8: Clear jams in the optional finishing devices
on page 242.
Jam in document feeder See AREA 9: Clear jams in the ADF on page 246.
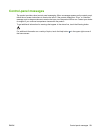
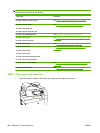
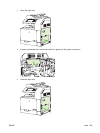
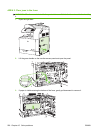
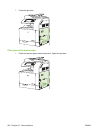
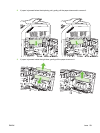
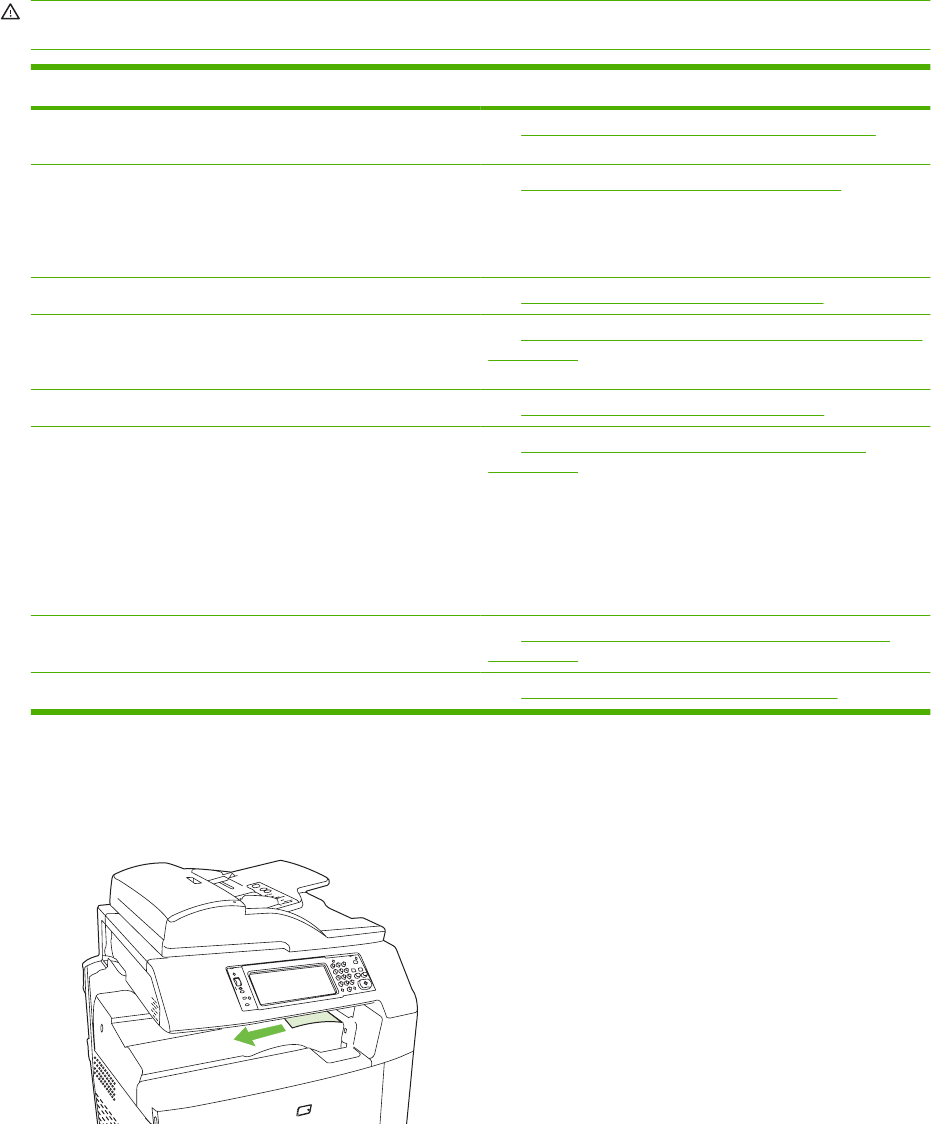
AREA 1: Clear jams in the output bin
1. If jammed paper is visible in the output bin, gently pull the paper to remove it.
224 Chapter 15 Solve problems ENWW