


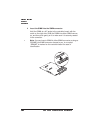
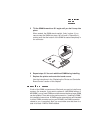
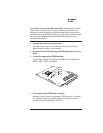

5 Tilt the SIMM forward to a 90° angle until you feel it snap into
place.
When seated, the SIMM stands upright, firmly in place. If you
cannot snap the SIMM into place, do not force it. Reposition it,
making sure that the bottom of the SIMM is seated completely in
the connector.
6 Repeat steps 3-5 for each additional SIMM being installing.
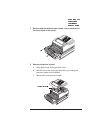
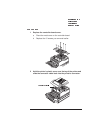
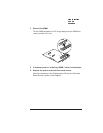
7 Replace the printer and controller board covers.
Use the instructions in the “Replacing the Printer and Controller
Board Covers” section of this chapter.
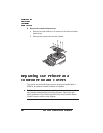
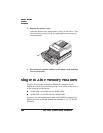
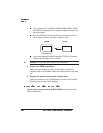
If both of the SIMM connectors are filled and you want to install more
memory (for example, if you want to replace a 4 MB SIMM with an 8
MB SIMM), one or more SIMMs must be removed before a larger SIMM
can be installed. Then refer to the previous section, “Installing a SIMM,”
for installation instructions. A SIMM can be removed from and installed
in either SIMM connector as long as DRAMØ, the SIMM connector
closest to you, is occupied. Also, you must make sure that there is a
total of at least 12 MB of RAM installed.