


IBM System Storage DR550 Version 3.0 ------17 March 2006 Page 67
IBM Storage Systems Copyright © 2006 by International Business Machines Corporation
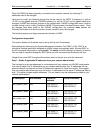
Step 11 - Define the new HACMP network
Still within the HACMP menus of SMIT, configure the new HACMP network for both nodes.
1. Go to Configure HACMP Nodes -> Change/Show a Node in the HACMP Cluster and select
node drs_engine1. Highlight the Communication Path to Node field and press F4 to select a
new path for this node. From the list, select the new boot IP address drs_engine1_boot
(100.100.51.121 – this is just an example, use the address you received from the network
administrator) and press Enter. Press Enter again to change the path and verify the result is OK.
2. Press F3 twice. Go to Change/Show a Node in the HACMP Cluster again and select node
drs_engine2. Highlight the Communication Path to Node field (where the old value for the path
is displayed) and press F4 to select a new path for this node. From the list, select the new boot IP
address drs_engine2_boot (100.100.51.123) and press Enter. Press Enter again to change the
path and verify the result is OK.
3. Step back by pressing F3 (should be four times), until you reach the Extended Configuration
window. Select Discover HACMP-related Information from Configured Nodes and verify the
result is OK. Escape with F3.
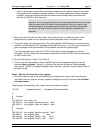
4. Go to Extended Topology Configuration -> Configure HACMP Networks -> Add a Network
to the HACMP Cluster and select ether below the discovered IP-based network types stanza. In
the Network Name field type net_ether_01 and verify that the correct netmask for your network
is presented in the Netmask field. Change the Enable IP Address Takeover via IP Aliases field
to No (you can use the Tab key or select with F4 key). Press Enter and verify the result is OK.
Press the F3 key three times.
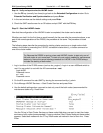
5. In the Extended Topology Configuration go to Configure HACMP Communication
Interfaces/Devices -> Add Communication Interfaces/Devices and select Add Discovered
Communication Interface and Devices. Select Communication Interfaces. Select
net_ether_01 and press Enter.
In the list, scroll down and select the boot (en3) and standby (en2) interfaces for both nodes with
the F7 key. Make sure you selected four interfaces in all. Press Enter and verify the result is OK.
Use the F3 key three times.
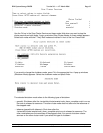
Step 12 - Create the network resource cluster address within HACMP
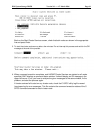
1. Go to Extended Resource Configuration -> HACMP Extended Resources Configuration ->
Configure HACMP Service IP Labels/Addresses -> Add a Service IP Label/Address ->
Configurable on Multiple Nodes, select net_ether_01 and press Enter.
2. In the IP Label/Address field, press F4. From the list, select drs_cluster_svc and press Enter.
Press Enter again to start the SMIT process and verify that the result is OK.
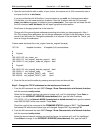
Step 13 - Add the new network resource to the HACMP resource group
1. Press F3 (normally five times) until you reach the Extended Configuration window. Go to
Extended Resource Configuration -> HACMP Extended Resource Group Configuration ->
Change/Show Resources and Attributes for a Resource Group, select drs_450_rg and press
Enter.
2. In the Service IP Label/Addresses field, press F4. Select drs_cluster_svc and press Enter.
Press Enter again to start the SMIT process and verify that the result is OK.