


Chapter 3---Service Adjustments
3-2 Model 330, 340SC, 370SC Service Manual
with the remote. Then turn the projector power back off with
the remote. This allows power to be reapplied to the fans to
cool the arc lamp that remains very hot even after power is
removed. During a normal power shutdown the fans
continue to run for several minutes to cool the arc lamp.
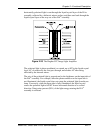
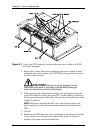
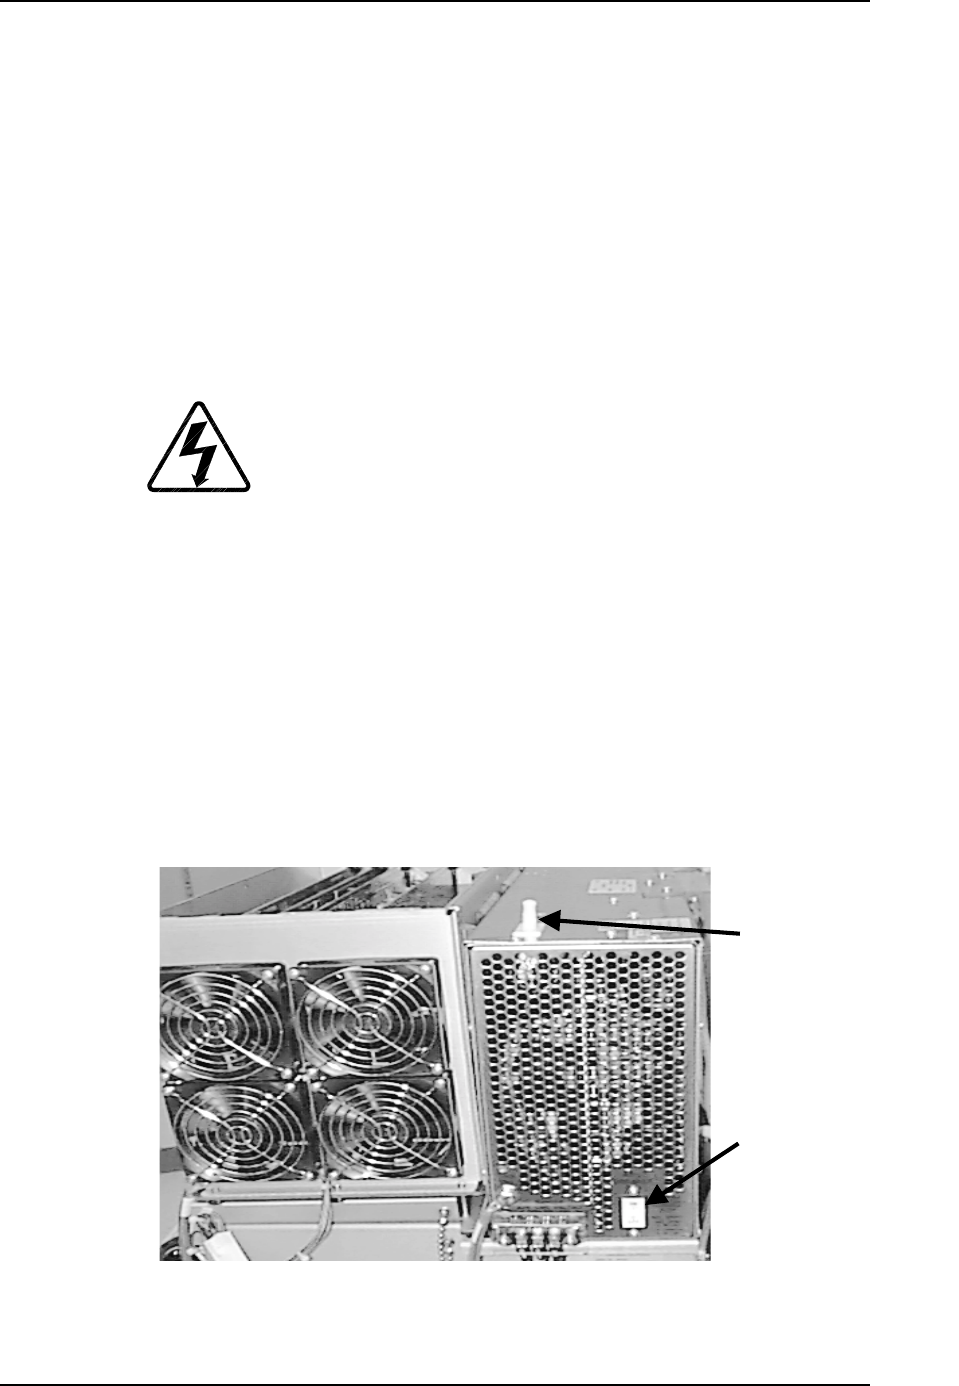
3. Turn on the main circuit breaker (located on the bottom, right side of the
main power supply inside the projector in (see Figure 3-1). This switch
turns on the +5V standby power supply for the main processor.
4. Replace the rear cover on the projector or set the power interlock switch,
on top of the system power supply, to the full UP position (see Figure
3-1).
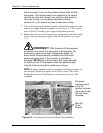
WARNING!!!
With the cover off the projector,
be careful not to touch any open parts of the projector. Be
particularly careful of any high voltage wires (large, red
wires) which although heavily insulated could still cause
severe electrical shock if the insulation is pinched or
damaged.
NEVER
look into the Xenon Arc Lamp light path
or directly at any of the projection lens light paths-the light
intensity is strong enough to cause injury to eyes.
NOTE:
If using a tethered remote or a terminal for projector control, an
active display should now appear on the LCD or screen. This is the
Standby Power mode. The projector is now ready for a power "ON"
command.
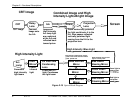
Figure 3-1
Power Interlock Switch and Main Circuit Breaker.
Set power
interlock switch
to full UP
position to power
the projector with
the rear cover
removed.
Main AC
Circuit
Breaker