


NIC Installation and Verification
July 1998 2-1
I
N
S
T
A
L
L
A
T
I
O
N
2 NIC Installation and Verification
This chapter describes how to install the NIC in the Kodak XLS 8400 and
8600 printers, the Kodak Digital Science 8650 printer, the Kodak
Professional 8657 printer, the Kodak Digital Science Desktop Color
Proofer 9000, and the Kodak Digital Science DCP 9300 Proofer. It also
describes how to run the verification test using the default configurations
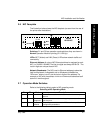
after the NIC is installed. See the last part of this chapter for information
about NIC LEDs and operating mode switches for power-up hardware
verification.
For a fee, you may have a Kodak service representative install the NIC in
the printer. This fee covers hardware installation only. Network setup
tasks are still your responsibility. If you install the NIC yourself, you are
responsible for any damage that occurs during installation.
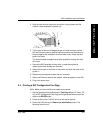
2.1 Equipment Requirements
When installing a new NIC or replacing a NIC, you need
• a Phillips-head or Torque-head (T15) screwdriver. Check the rear of
the printer to determine the screwdriver you need.
• network cabling certified for 10 and/or 100 Mbit operation depending
on the speed of your network. The Kodak Printer and NIC support
10BaseT or 100BaseT cabling directly. For 100 Mbit operation, use
category 5 (CAT 5), unshielded twisted pair (UTP) cabling.
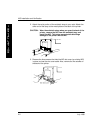
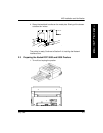
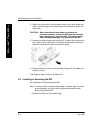
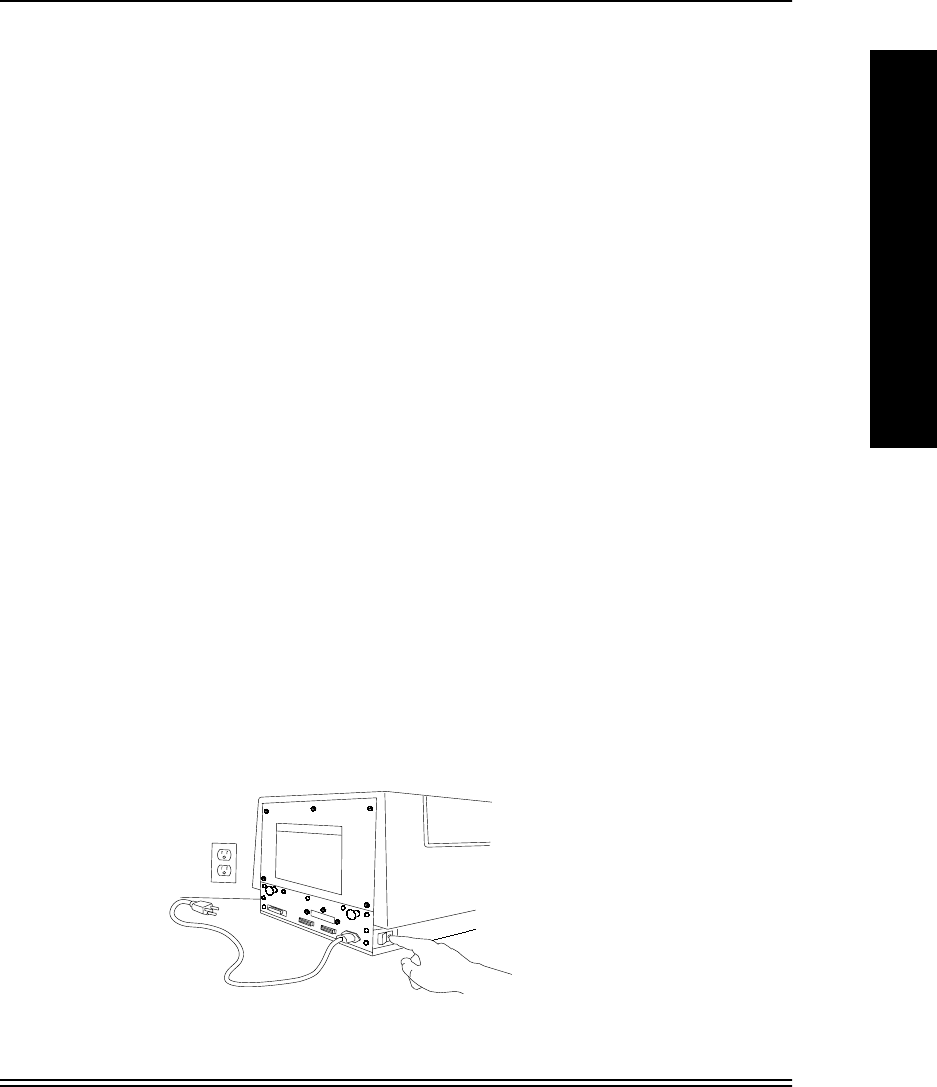
2.2 Preparing the Kodak 8400/86xx series Printers
1. Turn off and unplug the printer.