5-20
When the jammed paper has been removed, open and close the printer’s top cover or the paper
feed unit. Then the printer automatically warms up, goes on-line, and continues printing.
Depending on the point at which the jam occurred, the printer may or may not print the jammed
page.
If paper jams occur frequently, try using a different type of paper, replace with paper from another
ream, turn the stack of paper over, or turn the paper the other way around. Read the information in
Appendix B. Also, look for tiny pieces of paper that may have been torn off and overlooked when
the jammed paper was removed.
If you cannot solve the problem by changing the paper, there may be a problem with the printer.
Call a service person.
Note
● When pulling the paper, pull it gently so as not to tear it. Torn pieces of paper are difficult to
remove and may be easily overlooked, deterring the jam recovery.
● The fuser unit inside the printer is hot. Do not touch it with your hands as it may result in burn
injury. Remove jammed paper carefully.
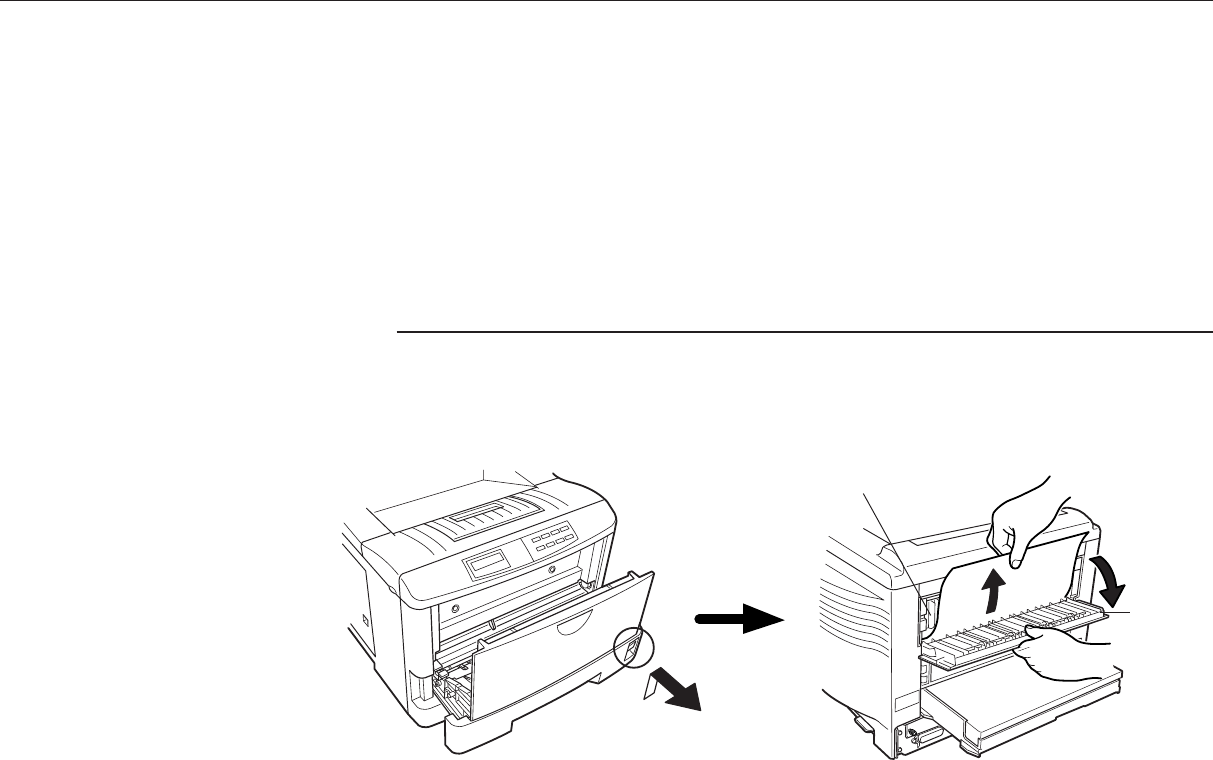
Rear Cover
Figure 5.2. Rear Cover
5.6. Correcting a Paper Jam
Fuser Unit


