


Related topics:
• “Loading original documents on the scanner glass” on page 22
Scanning an item for Web page viewing
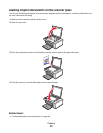
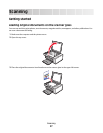
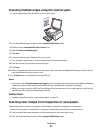
1 Make sure the printer is connected to a computer, and both the printer and the computer are on.
2 Load an original document facedown on the scanner glass.
3 From the Finder desktop, double-click the Lexmark 5300 Series folder.
4 Double-click the Lexmark 5300 Series Center icon.
5 From the “How will the scanned image be used?” pop-up menu, choose To be viewed on monitor/web page.
6 Adjust the settings as needed.
7 Click Scan.
Related topics:
• “Loading original documents on the scanner glass” on page 22
Scanning a portion of an image
You can scan certain portions of an image or a document using the cropping function of the Scan dialog. This option
is good for scanning logos, parts of a magazine page, or sections of a photo.
1 Make sure the printer is connected to a computer, and both the printer and the computer are on.
2 Load an original document or image facedown on the scanner glass.
3 From the Finder desktop, double-click the Lexmark 5300 Series folder.
4 Double-click the Lexmark 5300 Series Center icon.
5 Click Preview/Edit.
6 Click inside the document or image in the preview area.
7 Drag the nodes on the crop area to select the part of the image that you want to scan.
Note: Drag the nodes on the dashed border to expand or minimize the crop area.
8 Click .
9 Click . Only the designated cropped area is saved or sent to an application.
Related topics:
• “Loading original documents on the scanner glass” on page 22
Scanning
30