16
Chapter 5: Configuring the Wireless-G Broadband Router
The Setup Tab - Basic Setup
Wireless-G Broadband Router
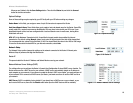
When you are finished, click the Save Settings button. Then click the Status tab, and click the Connect
button to start the connection.
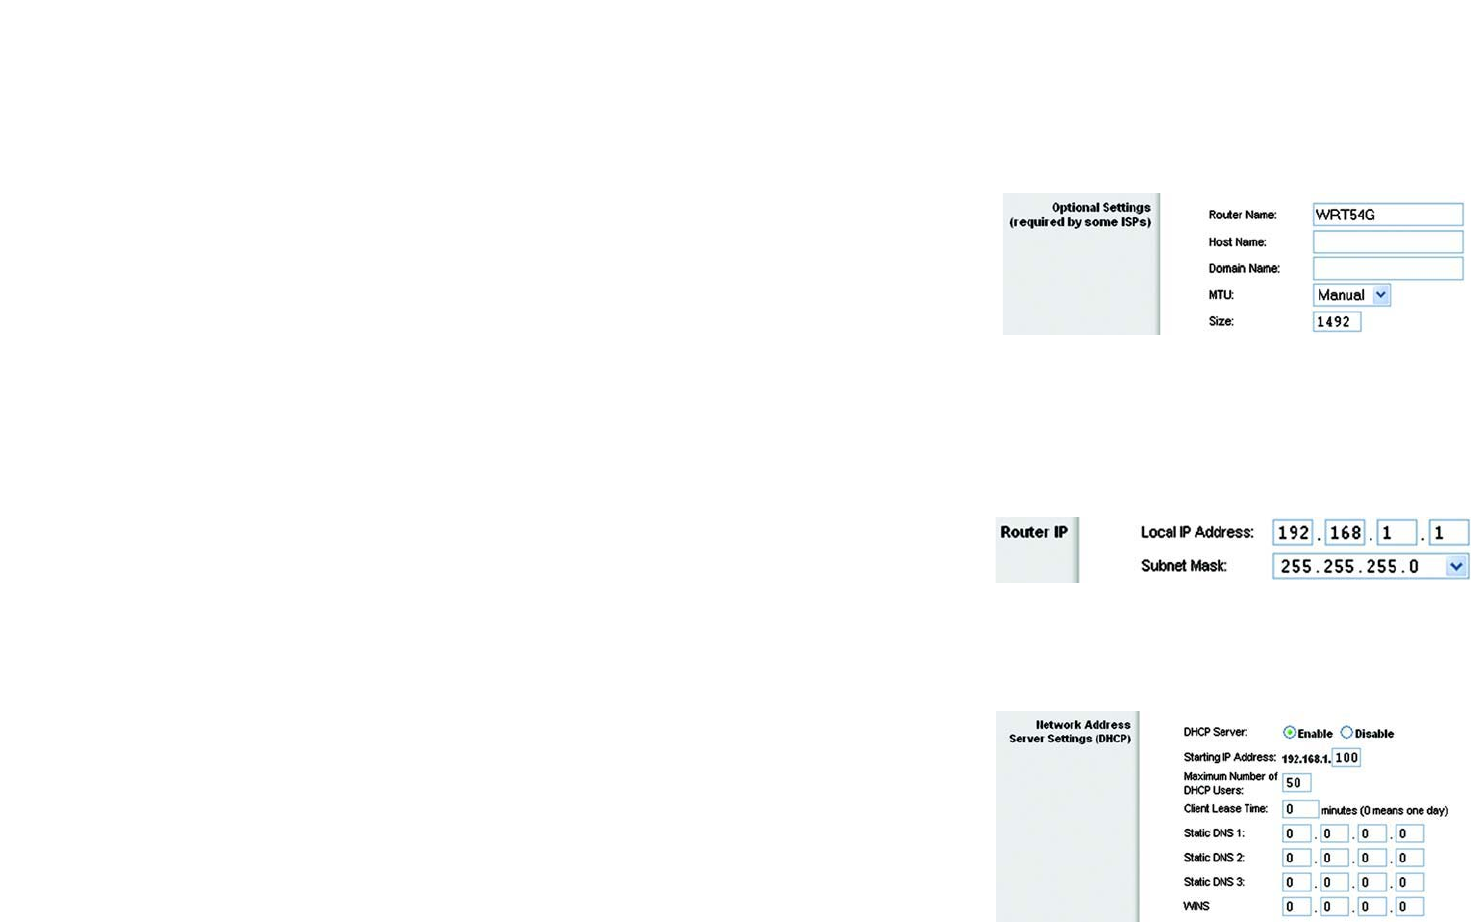
Optional Settings
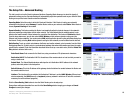
Some of these settings may be required by your ISP. Verify with your ISP before making any changes.
Router Name. In this field, you can type a name of up to 39 characters to represent the Router.
Host Name/Domain Name. These fields allow you to supply a host and domain name for the Router. Some ISPs,
usually cable ISPs, require these names as identification. You may have to check with your ISP to see if your
broadband Internet service has been configured with a host and domain name. In most cases, leaving these
fields blank will work.
MTU. MTU is the Maximum Transmission Unit. It specifies the largest packet size permitted for Internet
transmission. The default setting, Manual, allows you to enter the largest packet size that will be transmitted.
The recommended size, entered in the Size field, is 1492. You should leave this value in the 1200 to 1500 range.
To have the Router select the best MTU for your Internet connection, select Auto.
Network Setup
The Network Setup section changes the settings on the network connected to the Router’s Ethernet ports.
Wireless Setup is performed through the Wireless tab.
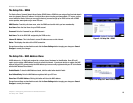
Router IP
This presents both the Router’s IP Address and Subnet Mask as seen by your network.
Network Address Server Settings (DHCP)
The settings allow you to configure the Router’s Dynamic Host Configuration Protocol (DHCP) server function. The
Router can be used as a DHCP server for your network. A DHCP server automatically assigns an IP address to
each computer on your network. If you choose to enable the Router’s DHCP server option, you must configure all
of your network PCs to connect to a DHCP server (the Router), and make sure there is no other DHCP server on
your network.
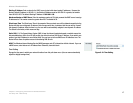
DHCP Server. DHCP is enabled by factory default. If you already have a DHCP server on your network, or you
don’t want a DHCP server, then click the Disable radio button (no other DHCP features will be available).
Figure 5-11: Network Address Server Settings
Figure 5-10: Router IP
Figure 5-9: Optional Settings


