5-4 0DJHOODQ 6FDQQHU
$XWRPDWLF=HURLQJLI6FDOHLV8QGHU=HUR
The scanner/scale is equipped with a feature that automatically zeros the
scale if it has been under zero for five seconds. (See “Scale Automatic
Zeroing” on page 37.) Local requirements may require temporarily dis-
abling this feature during certification. For the most accurate weighing
function, it is recommended that the automatic zeroing feature be
enabled.
9HULILFDWLRQRI$XWRPDWLF=HURLQJLI6FDOHLV
8QGHU=HUR
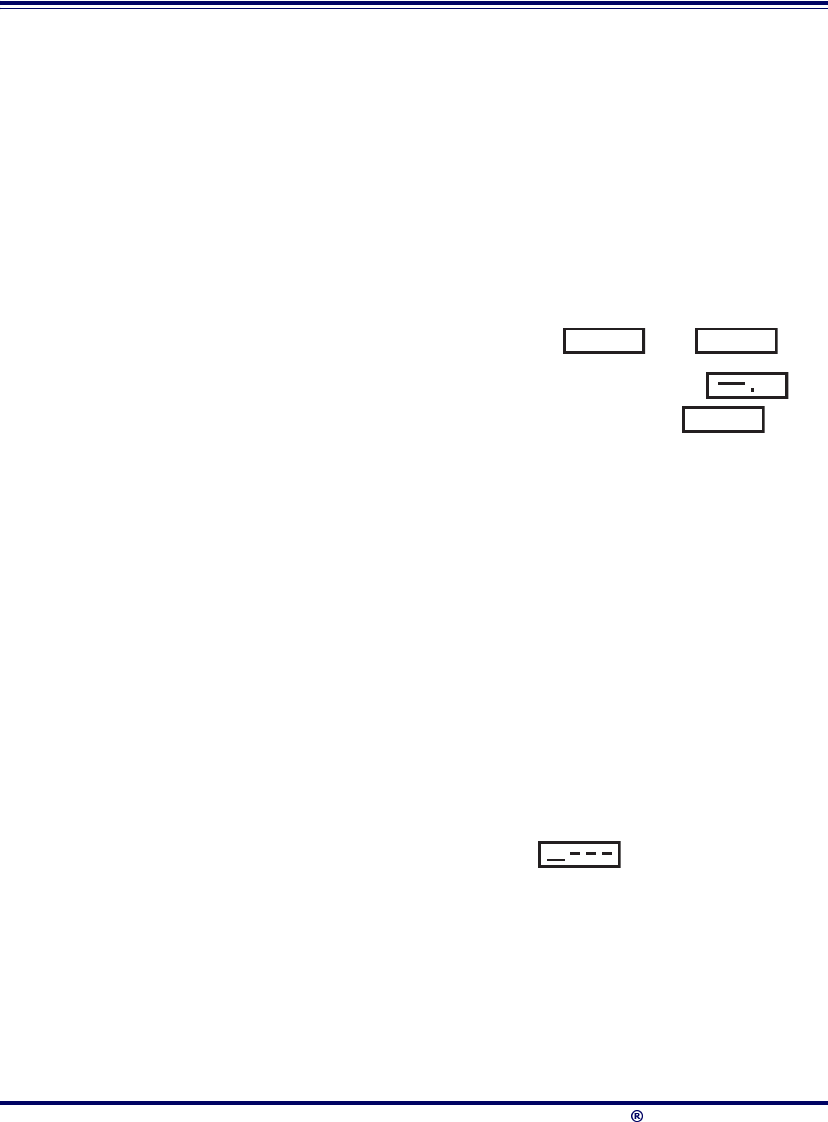
1. Place 0.1 lb (0.05kg) on the scale and press the Zero Push Button.
The Remote Display should read (or ).
2. Remove weight. The Remote Display should read ,
then, after five seconds, the display should read (or
kg).
3UHSDULQJWKH6FDQQHU6FDOHIRU&DOLEUDWLRQ
1. Assure that the scanner/scale is stable, secure and properly
installed. (Refer to Section 2, Site Preparation and Installation for
instructions on the proper installation of the scanner/scale).
2. Power-up the scanner/scale.
3. Allow the unit to reach temperature equilibrium for at least one
hour. If the scanner/scale is already at room temperature, allow at
least 15 minutes for acclimatization.
4. Before performing the calibration, the scanner/scale must be pre-
stressed with a weight of more than 30 pounds (15kg). With
power turned on, place the entire weight set (including the case)
on the weighing surface of the scale. The display should show an
underscore and three hyphens , which is the over-
weight indication.
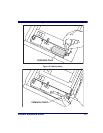
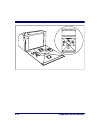
5. Remove all weight from the weighing surface and ensure that
there are no obstructions in the debris chutes of the scanner/scale.
See Figure 2-3.
0.00lb
0.00kg
lb
0.00lb


