


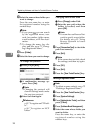


Registering Addresses and Users for Facsimile/Scanner Functions
98
5
Note
❒ If you press , you can search
by the registered name, user
code, fax number, folder name,
e-mail address, or IP-Fax desti-
nation.
❒ To delete the name, key display,
and title, see p.73 “Deleting a
Registered Name”.
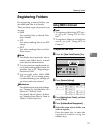
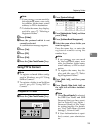
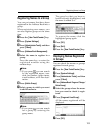
F Press [Folder].
G Press the protocol which is not
currently selected.
A confirmation message appears.
H Press [Yes].
I Press [OK].
J Press [Exit].
K Press the {User Tools/Counter} key.
Using NCP to Connect
Note
❒ To register a shared folder config-
ured in Windows, see p.91 “Using
SMB to Connect”
❒ To register a folder in an FTP serv-
er, see p.95 “Using FTP to Con-
nect”
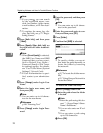
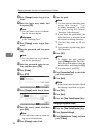
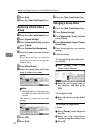
To register an NCP folder
A Press the {User Tools/Counter}key.
B Press [System Settings].
C
Press
[
Administrator Tools
]
, and then
press [TNext].
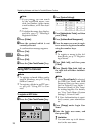
D Press [Address Book Management].
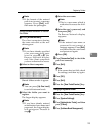
E Press the name you want to regis-
ter or enter the registered number
using the number keys.
Note
❒ To register a name in the Ad-
dress Book, see p.72 “Register-
ing a Name”.
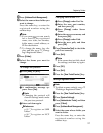
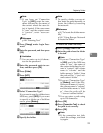
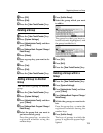
F Press [Auth. Info], and then press
[TNext].
G Press [Specify Other Auth. Info] on
the right side of Folder Authenti-
cation.
Note
❒ When [Do not Specify] is selected,
the SMB User Name and SMB
Password that you have speci-
fied in Default User Name /
Password (Send) of File Trans-
fer settings applies. For details,
see "User Tools Menu (System
Settings)", Network Guide.
❒ If User Authentication is speci-
fied, contact your administra-
tor.
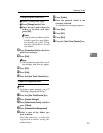
H Press [Change] under Login User
Name.
I Enter the login user name, and
then press [OK].
Limitation
❒ You can enter up to 64 charac-
ters for the user name.
ZFFH220E