


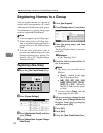

Registering Names to a Group
103
5
Registering Names to a Group
You can put names that have been
registered in the Address Book into a
group.
When registering new names, you
can also register groups at the same
time.
A Press the {User Tools/Counter} key.
B Press [System Settings].
C
Press
[
Administrator Tools
]
, and then
press [TNext].
D Press [Address Book Management].
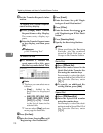
E Select the name to register in a
group.
Press the name key, or enter the
registered number using the
number keys.
Note
❒ If you press , you can search
by the registered name, user
code, fax number, folder name,
e-mail address, or IP-Fax desti-
nation.
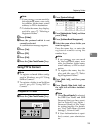
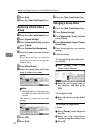
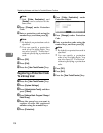
F Press [Add to Group].
G Select a group to which you want
to add the name to.
Note
❒ If you press , you can search
for a group by entering the
group name.
The group key that you have se-
lected becomes highlighted, and
the name is added to it.
To remove the name, click the
highlighted group again.
H Press [OK].
I Press [Exit].
J Press the {User Tools/Counter} key.
Displaying Names Registered
in Groups
You can check the names or groups
registered in each group.
A Press the {User Tools/Counter} key.
B Press [System Settings].
C
Press
[
Administrator Tools
]
, and then
press [TNext].
D
Press
[
Address Book: Program / Change /
Delete Group
]
.
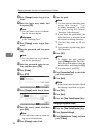
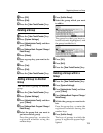
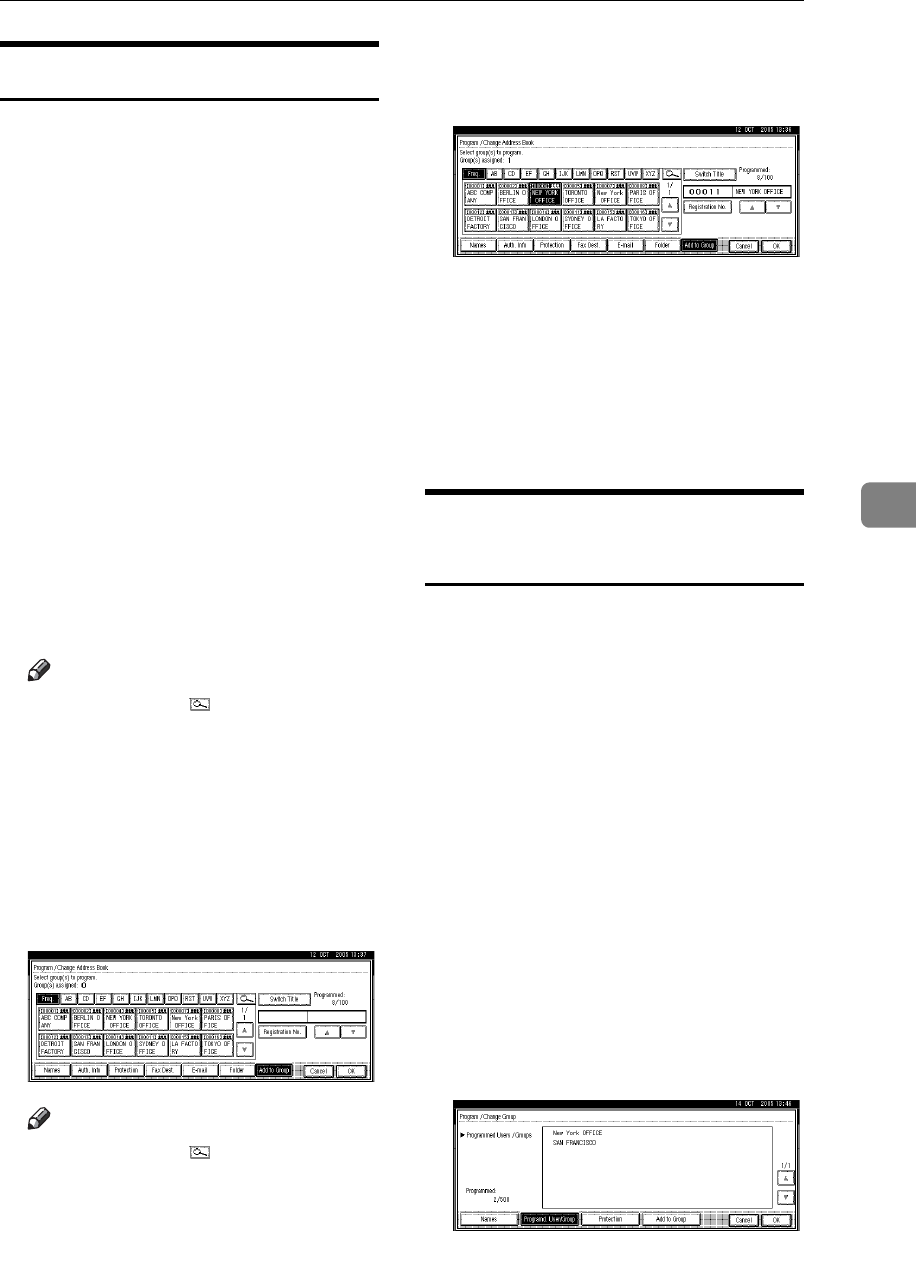
E Select the group where the mem-
bers you want to check is regis-
tered.
F Press [Programd. User/Group].
All the names registered will be
displayed.
G Press [OK].