


Fax Destination
83
5
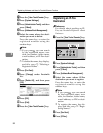
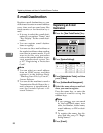
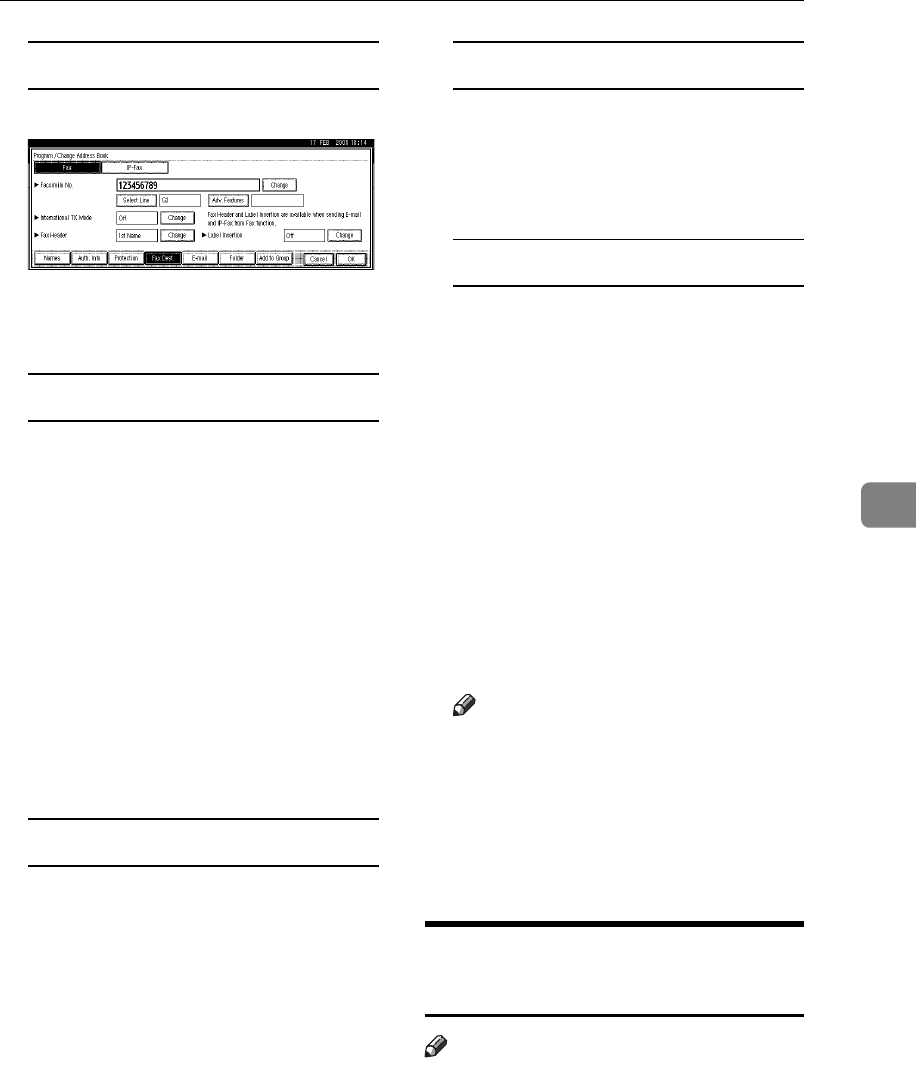
To change the line
A Press [Select Line].
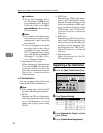
B Select the line.
C Press [OK].
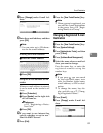
To change the SUB Code
A Press [Adv. Features].
B Press [SUB Code].
C Press [Change] under TX SUB
Code.
D Enter the new SUB Code, and
then press [OK].
E To change the password, press
[Change] under Password
(SID).
F Enter the new password, and
then press [OK].
G Press [OK].
To change the SEP Code
A Press [Adv. Features].
B Press [SEP Code].
C Press [Change] under RX SEP
Code.
D Enter the new SEP Code, and
then press [OK].
E To change the password, press
[Change] under Password
(PWD).
F Enter the new password, and
then press [OK].
G Press [OK].
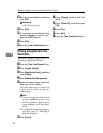
To change the fax header
A Press [Change] under Fax Head-
er.
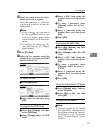
B Select the new fax header, and
then press [OK].
To change the label insertion
A Press [Change] under Label In-
sertion.
B Press [Change] under Line 2.
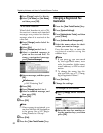
C Select the new standard mes-
sage or press [Custom Message]
to enter the new message.
D Press [OK].
E Press [Change] under Line 3.
F Select the new standard mes-
sage, and then press [OK].
G Press [OK].
H Press [OK].
Note
❒ To change the name, key dis-
play and title, see p.73 “Chang-
ing a Registered Name”.
I Press [Exit].
J Press the {User Tools/Counter} key.
Deleting a Registered Fax
Destination
Note
❒ If you delete a destination that is a
specified delivery destination,
messages to its registered Personal
Box, for example, cannot be deliv-
ered. Be sure to check the settings
in the fax function before deleting
any destinations.
❒ To delete a name entirely, see p.73
“Deleting a Registered Name”.