


Troubleshooting When Using the Printer Function
46
4
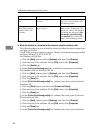
If the printing does not start, Contact your service representative.
❖ When the machine is connected to the computer using the interface cable
The following shows how to check the print port when the data-in lamp does
not light up or blink.
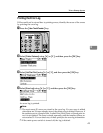
Check if the print port setting is correct. When it is connected using a parallel
interface, connect it to LPT1 or LPT2.
For Windows 95/98/Me
A Click the [Start] button, point to [Settings], and then click [Printers].
B Click the icon of the machine. On the [File] menu, click [Properties].
C Click the [Details] tab.
D In the [Print to the following port:] list, confirm the correct port is selected.
For Windows 2000 or Windows NT 4.0
A Click the [Start] button, point to [Settings], and then click [Printers].
B Click the icon of the machine. On the [File] menu, click [Properties].
C Click the [Ports] tab.
D In the [Print to the following port(s)] list, confirm the correct port is selected.
Windows XP
A Click the [Start] button, and then click [Printers and Faxes].
B Click the icon of the machine. On the [File] menu, click [Properties].
C Click the [Ports] tab.
D In the [Print to the following port(s)] list, confirm the correct port is selected.
Windows Server 2003
A Click the [Start] button, point to [Settings], and then click [Printers].
B Click the icon of the machine. On the [File] menu, click [Properties].
C Click the [Ports] tab.
D In the [Print to the following port(s)] list, confirm the correct port is selected.
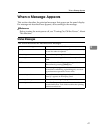
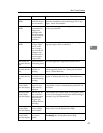
[List/Test Print] is disa-
bled.
A mechanical error might have
occurred.
Contact your service representa-
tive. See “List/Test Print”, Gen-
eral Settings Guide.
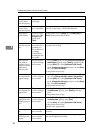
Printing does not start
when using extended
wireless LAN in Ad-
hoc mode.
The correct Communication
mode is not set.
Turn the main power off and
back on. See “Turning On/Off
the Power”, About This Machine.
Or, change the settings for [Sys-
tem Settings], [Interface Settings]
and [Network]. See “Network Set-
tings”, General Settings Guide.
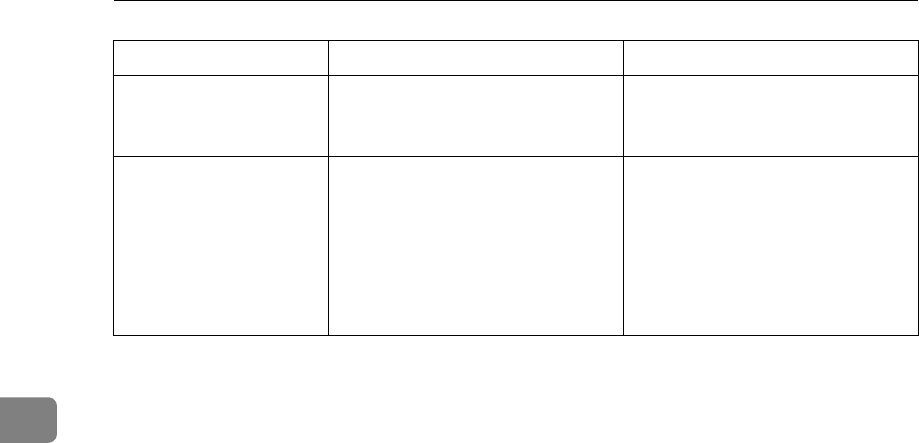
Problem Cause Solution