OPTIONAL FUNCTIONS
El
cl
c1
i
o
0
D
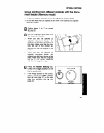
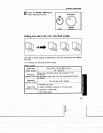
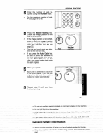
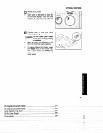
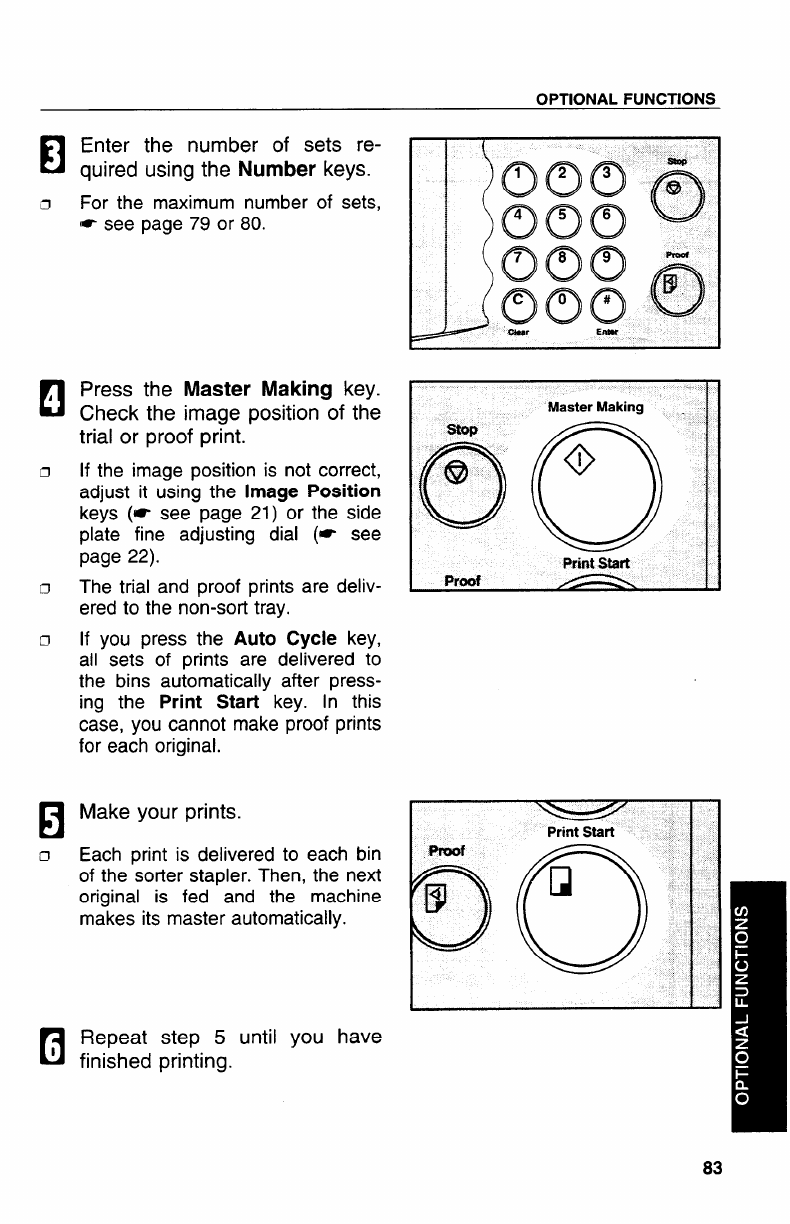
Enter the number of sets re-
quired using the Number keys.
For the maximum number of sets,
e see page
79 or 80.
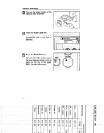
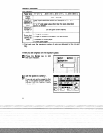
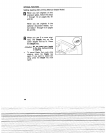
Press the
Check the
Master Making key.
image position of the
trial or proof print.
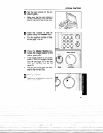
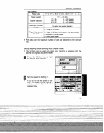
If the image position is not correct,
adjust it using the
Image Position
keys (= see page 21) or the side
plate fine adjusting dial (* see
page 22).
The trial and proof prints are deliv-
ered to the non-sort tray.
If you press the Auto Cycle key,
all sets of prints are delivered to
the bins automatically after press-
ing the
Print Start key. In this
case, you cannot make proof prints
for each original.
la
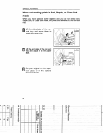
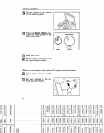
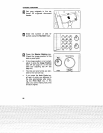
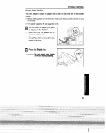
Make your prints.
c1
Each print is delivered to each bin
of the sorter stapler. Then, the next
original is fed and the machine
makes its master automatically.
B
Repeat step 5 until you have
1 finished printing.
MasterMaking .
O(y
@
o
I
PrintStart
Proof
83
rI Do not put anything except originals or command sheets on the machine.
D Vv%erI
opening or closing the door or cowrs, keep hold of them so they don’t
ful!.
6 ~ou clean rubber parts with benzine, wipe them with a dry
cloth aftenvard.s.
General Safdy Information
a Aiways
turn the machine off when you have finished
pmngfcx the C@.
—
G When the ‘m-achine ~iH not be used for
iong periods, ‘disconnect the power


