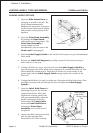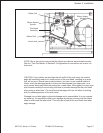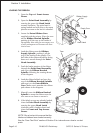
diagram. Set the Adjustable
Label Guide to keep the labels
against the inside of the printer.
9. Close the Label Hold-Down by
pushing downward on the green
tab until it latches closed.
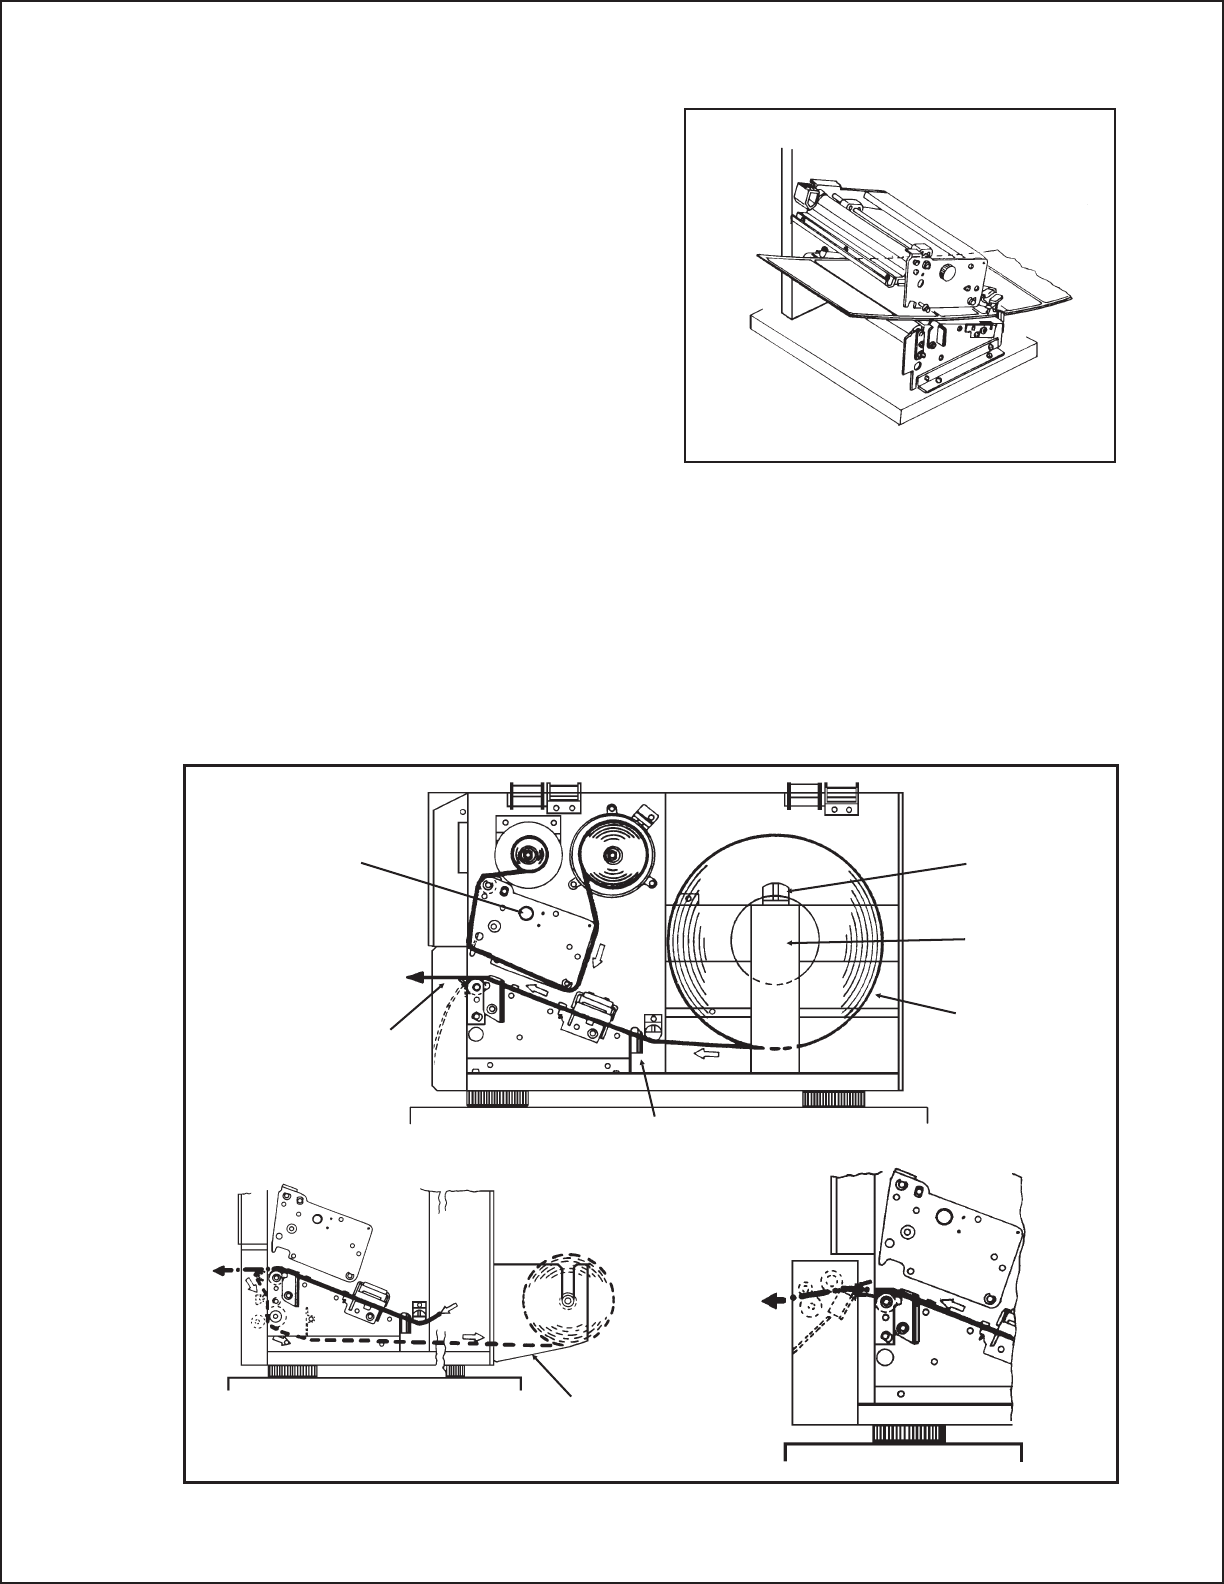
NOTE: If the Label Dispenser option
has been purchased, see Appendix D,
for proper label routing instructions.
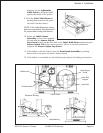
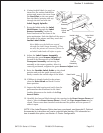
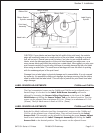
10. Adjust the Label Sensor
Assembly to the correct position
by loosening the Sensor Adjust
Cap Screw located on the front side of the Label Hold-Down and moving the
Sensor Adjust Tab to the correct position. After it is correctly positioned,
retighten the Sensor Adjust Cap Screw.
11. If the ribbon is already loaded, close the Print Head Assembly by pushing
downward on the green tab until it latches closed.
12. If the ribbon is not loaded, see the following description for loading instructions.
SATO CL Series “e” Printers PN 9001074 Preliminary Page 2-5
Section 2. Installation
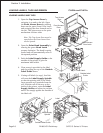
Label Roll
Support
Label Roll
Label Supply
Guide
Printed Labels
Label Guide
Media Knob
Label Backing
Dispenser Routing


