4 Replacement Procedures 4.9 Optical disk drive (DVD-Super Multi drive)
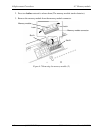
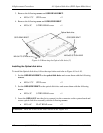
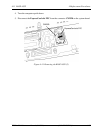
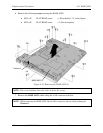
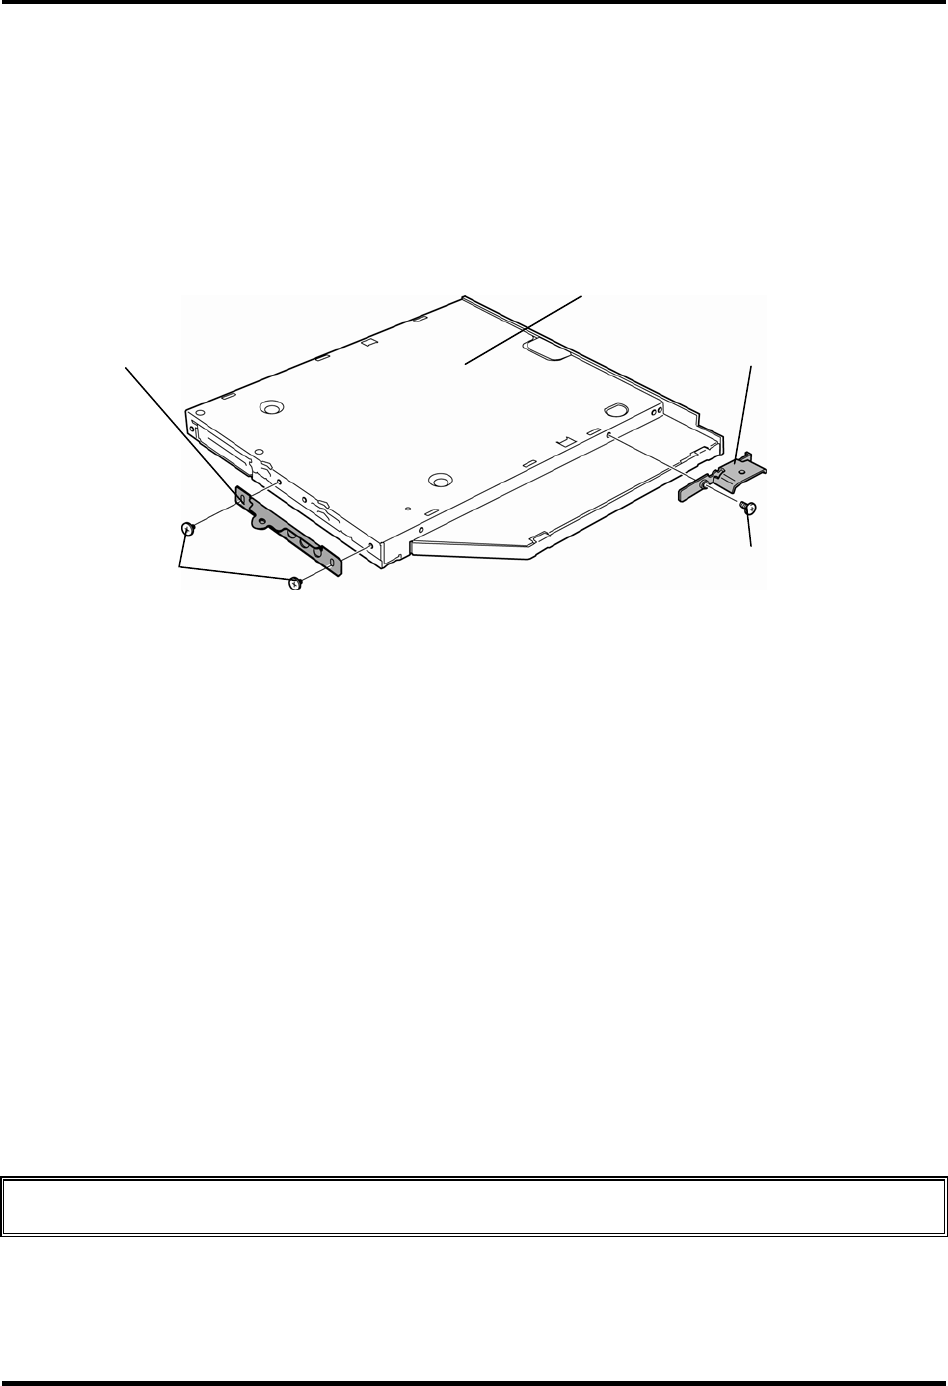
3. Remove the following screws and ODD REAR BRKT.
• M2.0×2.7C STEP screw ×2
4. Remove the following screw and ODD SIDE BRKT.
• M2.0×3C S-THIN HEAD screw ×1
ODD REAR BRKT
ODD SIDE BRKT
M2.0x3C S-THIN HEAD
M2.0x2.7C STEP
Optical disk drive
Figure 4-10 Removing the Optical disk drive (2)
Installing the Optical disk drive
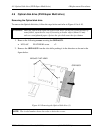
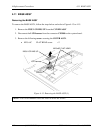
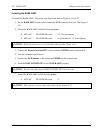
To install the Optical disk drive, follow the steps below and refer to Figure 4-9 to 4-10.
1. Set the ODD REAR BRKT to the optical disk drive and secure them with the following
screws.
• M2.0×2.7C STEP screw ×2
2. Set the ODD SIDE BRKT to the optical disk drive and secure them with the following
screw.
• M2.0×3C S-THIN HEAD screw ×1
3. Insert the ODD ASSY into the slot to connect it to the connector on the system board and
secure optical disk drive assembly with the following screws.
• M2.5×6C FLAT HEAD screw ×2
CAUTION: Drive the screws in the order shown in the Figure 4-9.
4-22 [CONFIDENTIAL] TECRA R10 Maintenance Manual (960-708)


