4.26 LCD COVER ASSY 4 Replacement Procedure
4.26 LCD COVER ASSY
Removing the LCD COVER ASSY
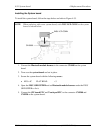
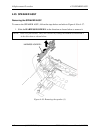
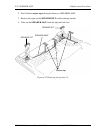
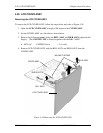
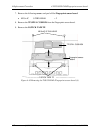
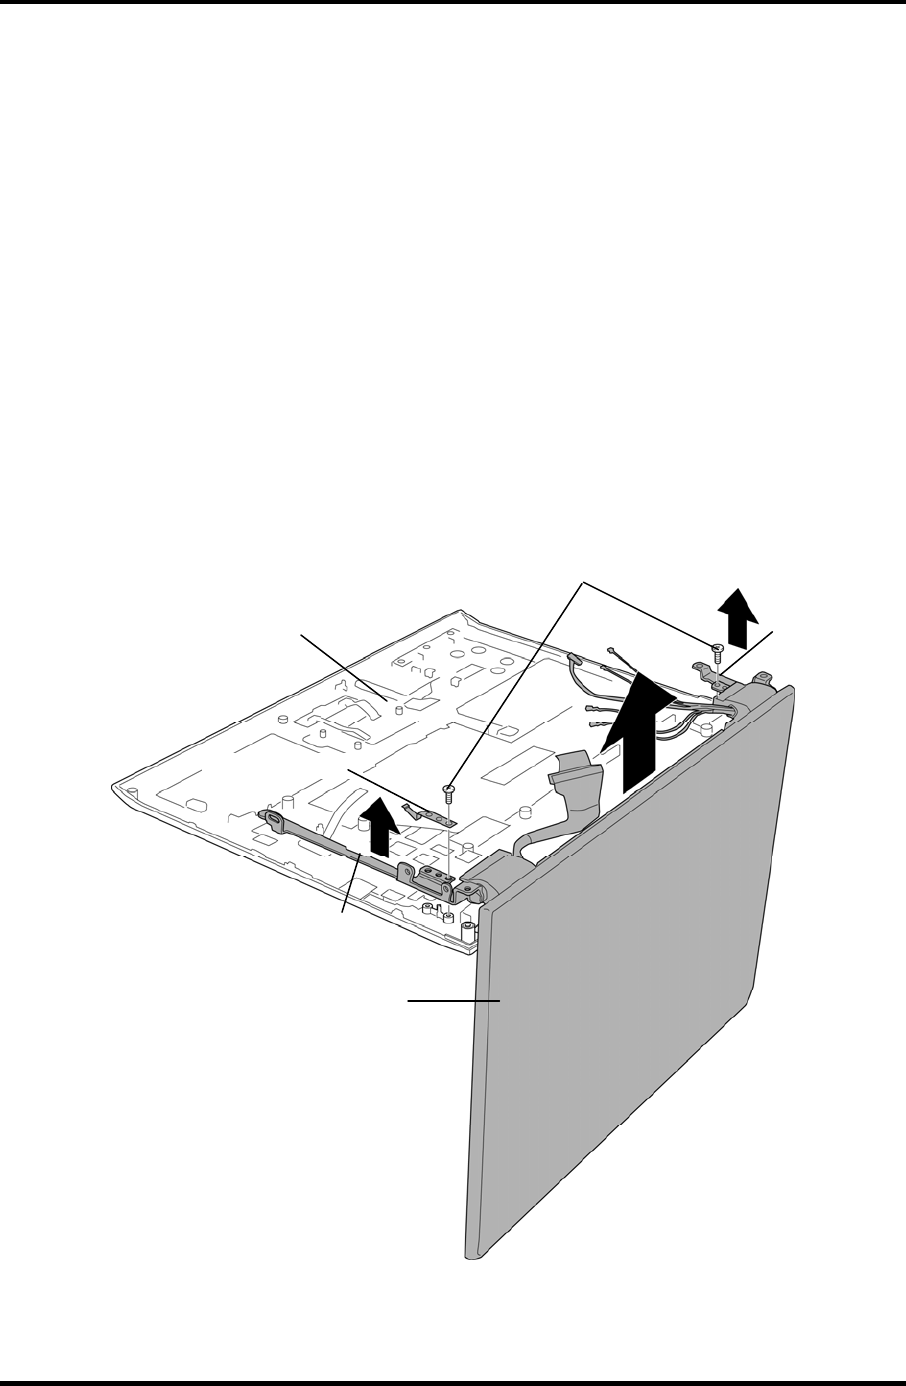
To remove the LCD COVER ASSY, follow the steps below and refer to Figure 4-38.
1. Open the LCD COVER ASSY at angle of 90 degree to the COVER ASSY.
2. Set the COVER ASSY on a flat desk as shown below.
3. Remove the following screws fixing the BH L ASSY and BH R ASSY (right and left
hinges). (The GND SPG FIN is secured together with the BH L ASSY)
• M2.5×6C TAPPING Screw × 2 (1 each)
4. Remove LCD COVER ASSY with the BH L ASSY and BH R ASSY from the
COVER ASSY.
M2.5x6C TAPPING
LCD COVER ASSY
GND SPG FIN
BH L ASSY
BH R ASSY
COVER ASSY
Figure 4-38 Removing the LCD COVER ASSY
TECRA R10 Maintenance Manual (960-708) [CONFIDENTIAL] 4-65


