


SETTING THE SYSTEM CONFIGURATION
XEROX DOCUPRINT 4050/4090 IPS GUIDE TO CONFIGURING AND MANAGING THE SYSTEM 4-51
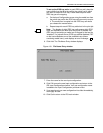
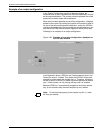
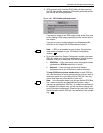
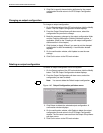
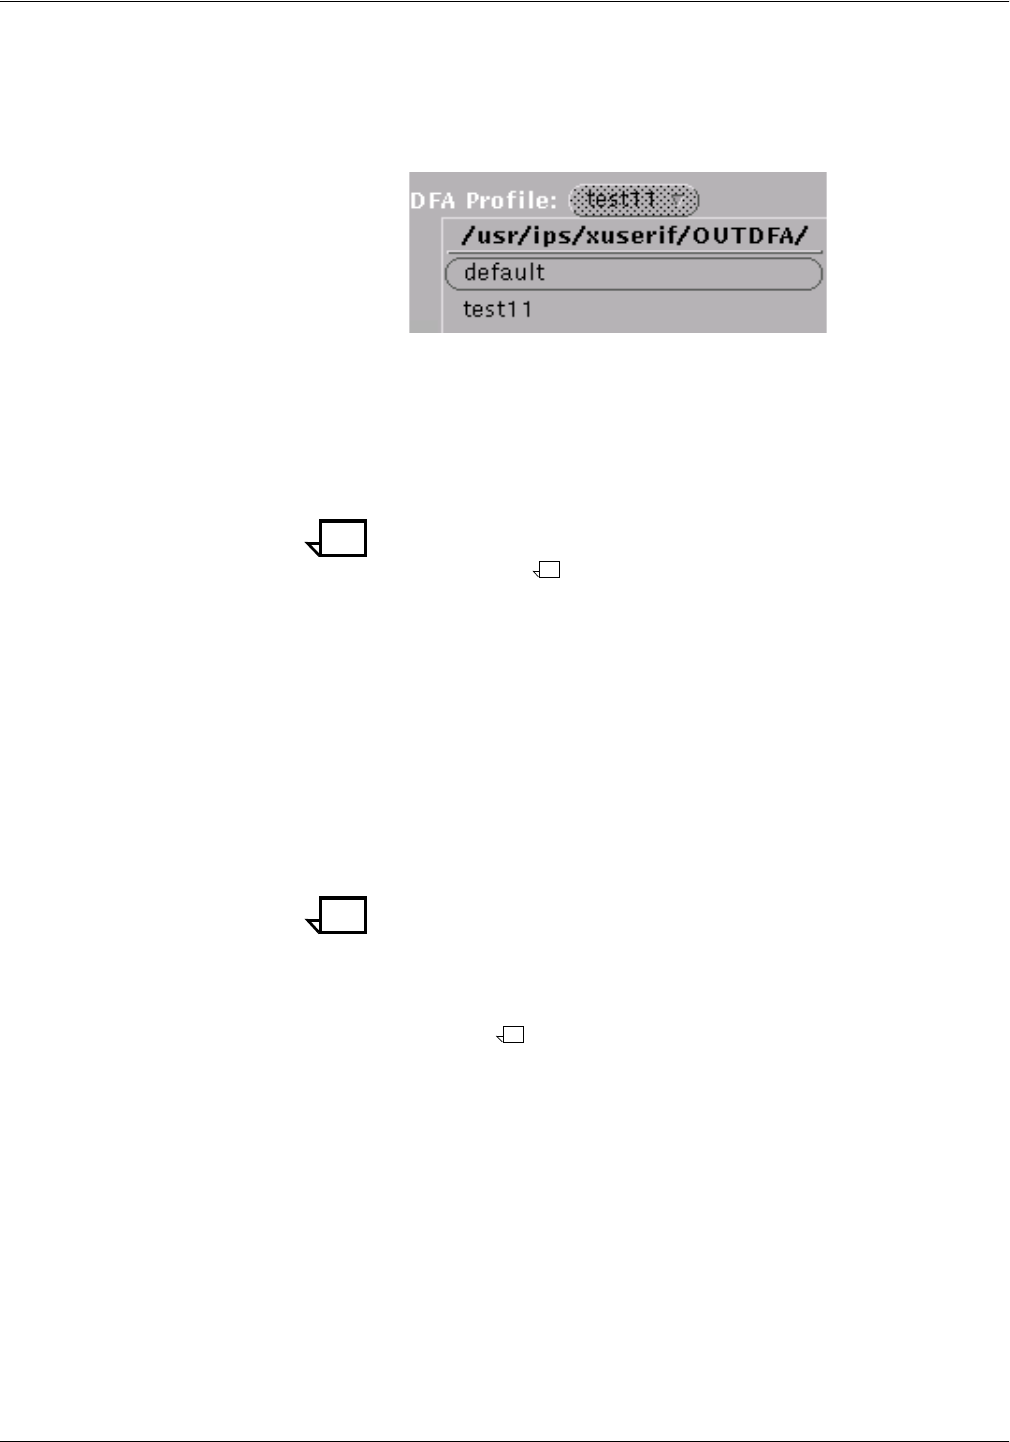
3. (DFA systems only) From the DFA Profile pull-down menu on
the IPS main window, select the DFA output personality profile
you will use with this configuration.
Figure 4-40. DFA Profile pull-down menu
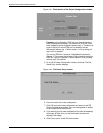
If you want to create a new DFA output profile at this time, refer
to the “Adding a DFA output personality profile” section later in
this chapter.
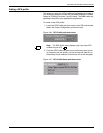
If you do not want to make changes to the displayed profile,
click Quit on the Output DFA Profile window to close it.
Note: If DFA is not enabled on your system, this pull-down
menu does not appear on your IPS Output Configuration
window.
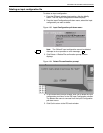
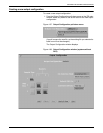
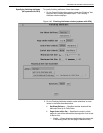
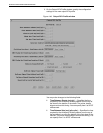
4. On the left side of the Output Configuration window, map each
IPDS bin called out in the job to the stacker(s) that will receive
the parts of the job in which that IPDS bin is specified.
• IPDS Bins — Each (horizontal) row of rectangular buttons
represents an IPDS bin called out in the job.
• Stackers — Each (vertical) column of bin buttons
represents one of your IPS printer’s stacker bins/trays.
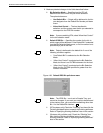
To map IPDS bins to printer stacker bins: In each IPDS bin
row, click the button for the physical printer bin that you want to
receive the parts of the job calling for that IPDS bin. You may
select more than one printer button in each row.
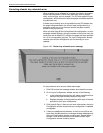
Note: In the illustration below, you can see that the IPDS Bins
row 1 does not contain any selectable bin buttons—only a
sample tray specification. IPDS bin 1 is coded in the software to
be mapped to the sample tray; you are not able to change this
part of the output configuration. All parts of any print job in which
the data stream calls for IPDS bin 1 are delivered to the sample
tray.