


SETTING THE SYSTEM CONFIGURATION
4-52 XEROX DOCUPRINT 4050/4090 IPS GUIDE TO CONFIGURING AND MANAGING THE SYSTEM
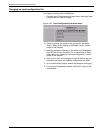
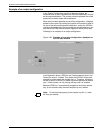
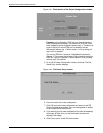
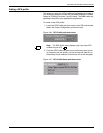
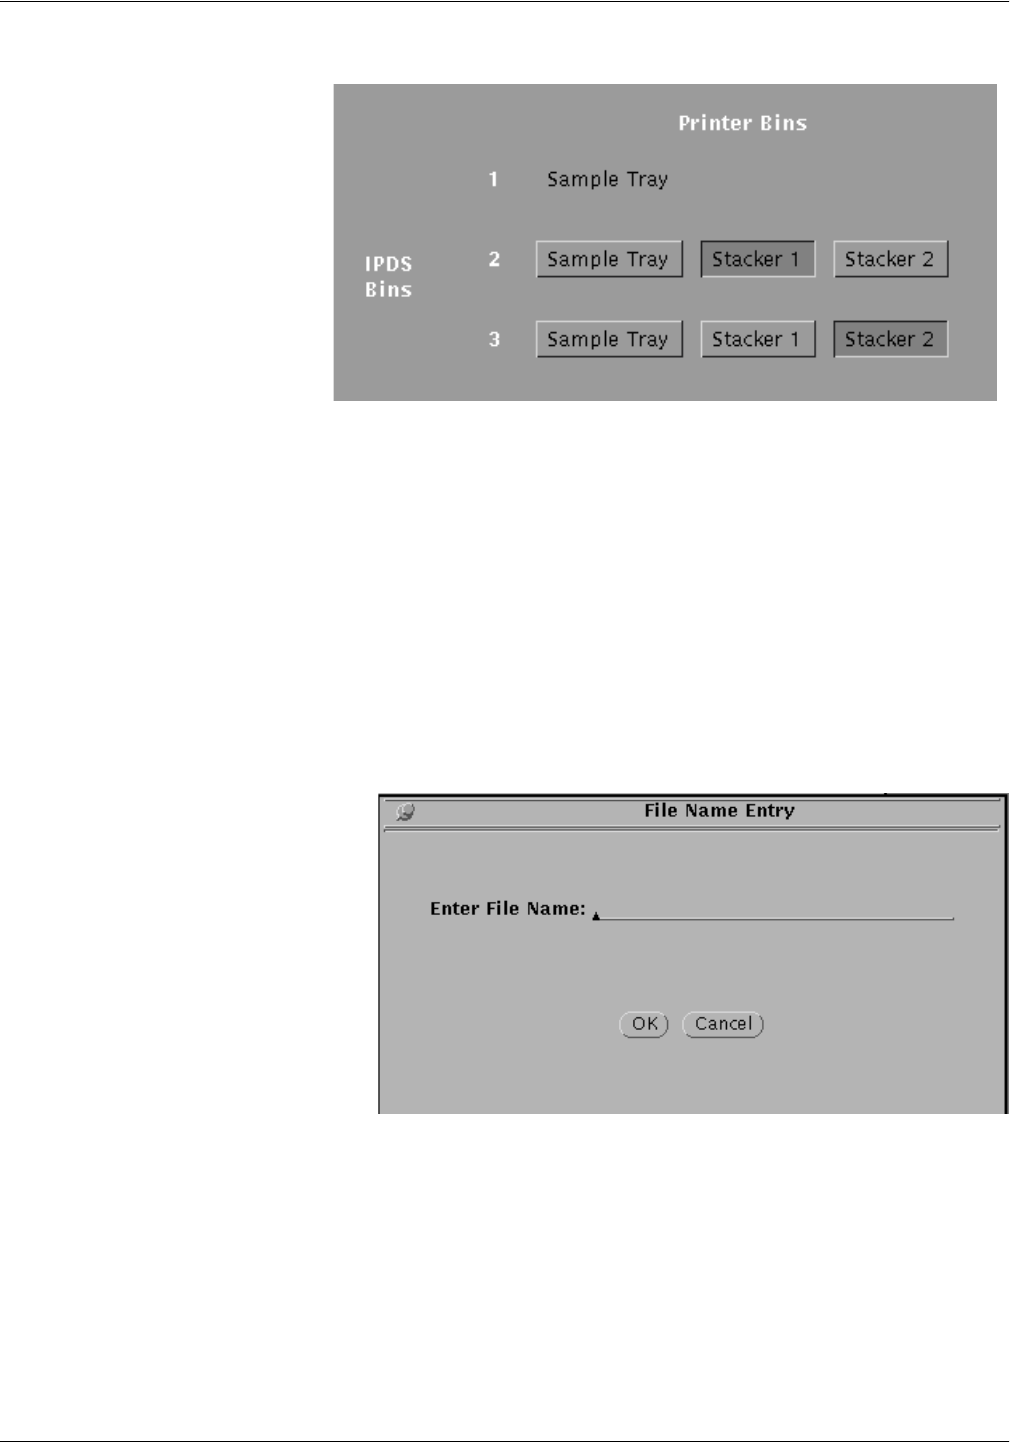
Figure 4-41. Bins section of the Output Configuration window
Example: In the illustration, IPDS bin row 2 has the Stacker 1
button highlighted (selected). This shows that IPDS bin 2 has
been mapped to printer output bin (stacker tray) 1. Therefore, all
parts of the job for which IPDS bin 2 is called out will be
delivered to stacker tray 1. When stacker 1 is full, printing will
stop until it is emptied.
The row for IPDS bin 3 contains a highlighted bin button for
Stacker 2. This means that all parts of the printed job calling for
IPDS bin 3 will go to stacker 2. When stacker 2 is full, printing
will stop until it is emptied.
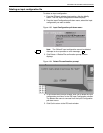
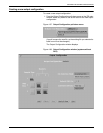
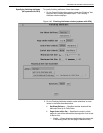
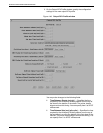
5. On the IPS Output Configuration window, click Add. The File
Name Entry window displays.
Figure 4-42. File Name Entry window
6. Enter the name of the new configuration.
7. Click OK to save the new configuration and return to the IPS
Output Configuration window. Your new configuration is added
to the Output Group Name menu.
8. If you want to put your new configuration into effect immediately,
click Apply & Save, then, on the confirmation window that
displays, click Apply.
9. Click Quit to return to the IPS main window.