


Web Print Manager Tool User Guide Page 13
access the Internet.
3. Press the Install button to install the help files on the hard disk. The
Controller will send back a message stating that the "File Uploaded
Successfully".
4. Press the hyperlink or Back arrow button to return to the last Web PMT
page.
On any Web PMT page, you can now select the HELP to access
additional help.
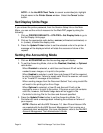
To view this tutorial electronically, select Help > Index > Quick Start.
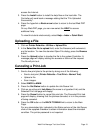
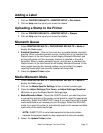
Uploading a File
1. Click on Printer Defaults > Utilities > Upload File.
2. In the Select the file to upload field, enter the filename (with extension)
and its location. To view the standard Open File dialog, press the Browse
button.
3. Press the Upload button to transfer the file to the system Controller. A
message page will display stating the success or failure of the request.
The file will print out.
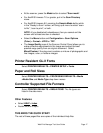
Canceling a Print Job
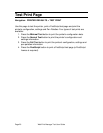
1. Send a few print jobs to the printer by doing one of the following:
Send a test print (Printer Defaults > Test Print > Normal Test).
Upload a file.
Scan images.
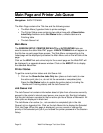
2. Select BACK to MAIN.
3. Press the Get Status button to update the Job Queue List.
4. Click on an active print Job Name (the name is a hypertext link) and the
Selected Print Job page will display.
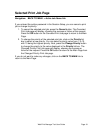
5. Press the Cancel button to cancel this print job. The Canceled Print Job
page will display, showing that the job was canceled, or is in the process
of being canceled.
6. Press the OK button or the BACK TO MAIN link to return to the Main
Page.
For any mismatched job, indicated in the Status column of the Job Queue,
click on the supplied checkbox to obtain information about the mismatch
condition. The printer password is not required.