


Web Print Manager Tool User Guide Page 35
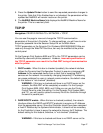
6. Enter the percentage of shading (on a gray-scale) in the Shading text
box. 0 is for no shading and 100 is for all black.
NOTE: "Server Error - 503" may be displayed if your Label Text exceeds
255 characters in length. To remedy this situation, reduce your label text
length to no more than 255 characters.
7. Press the Update Printer button to update the default plot label
parameters in the printer.
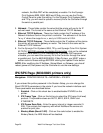
Fonts Page
Navigation: PRINTER DEFAULTS > PRINTER SETUP > Fonts
This read-only page displays the font names contained in the printer.
Index
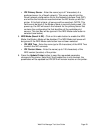
Stamps Page
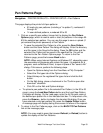
Navigation: PRINTER DEFAULTS > PRINTER SETUP > Stamps
Use this page to view or change (if you entered the printer password) the
printer's default stamp parameters (if any) and the Printer Resident Stamps.
1. Press the Load Stamp button and the Load Stamp File page will display.
This page is used to add a stamp to the Printer Resident Stamps list.
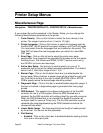
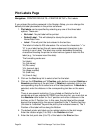
On the Load Stamp File page, enter the name of the stamp file in the
designated text box. To help select a file, press the Browse... button to
display the standard file dialog.
Press the Update Printer button. A message page will display stating
the success or failure of the request.
To return to the Stamps page, click on the BACK TO Stamps link on
the message page. The uploaded stamp will appear on the Printer
Resident Stamps list.
NOTE: You may need to press the browser Refresh (or Reload)
button to updated the display of the Stamps page if you have loaded a
new stamp or set the printer's default stamp.
2. Click on a stamp name (hypertext link) in the Printer Resident Stamp list
and the Stamp Options page will display. After pressing one of the
following buttons on the Stamp Options page, the Stamps page will
display:
Press the Delete Stamp button to delete the selected stamp from the
Printer Resident Stamp list.