


XEROX WIDE FORMAT COPY SYSTEM Scanning to the Network (SCAN mode) • 87
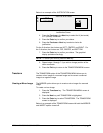
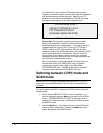
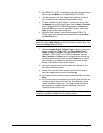
PLEASE ENTER
DIRECTORY
Images
Please Enter Directory Screen
3. Enter a Directory name, up to 16 alphanumeric characters, to
which you will scan the images. The name cannot begin with a
period/decimal point.
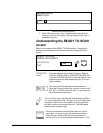
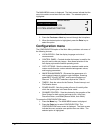
Understanding the READY TO SCAN
screen
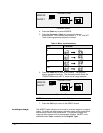
Below is an example of the READY TO SCAN screen. Following the
example are descriptions of the special information displayed on the
screen.
READY TO SCAN
INSERT DOCUMENT
400
TIFF/CCITTG4
1
1 BIT
Ready to Scan Screen
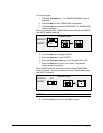
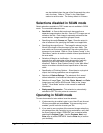
TIFF/CCITTG
41 BIT
This area indicates the selected file format. Refer to
SCAN OPTIONS (LINE) or SCAN OPTIONS (PHOTO)
or SCAN OPTIONS (COLOR) to set these options. The
available options will differ depending upon your Scan
Option selection.
This area shows the selected scanning resolution.
Press the Previous or Next key to select a value of 100,
200, 300, or 400 DPI (Dots Per Inch). A new value can
be selected before each scan.
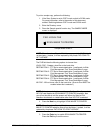
This icon shows how much Random Access Memory (RAM)
is in use by the scanned file. As space is used, the dark area
increases. After the scan is complete, the file is processed
and then moved to the internal hard disk. The RAM space
then becomes available again.
This icon shows how much hard disk space is in use by
stored files. As space is used, the dark area increases.
When files are moved off the disk over the network to
remote devices, the space becomes available again. Files