


XEROX WIDE FORMAT COPY SYSTEM Image Quality • 45
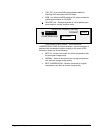
2. Enter the Directory Name. The READY TO SCAN INSERT
DOCUMENT screen is displayed.
3. Select the Color by pressing the arrow key below the Original,
Type key until the Normal and Photo lights come on. The SCAN
OPTIONS (COLOR) screen is displayed.
4. Use the Enter key to enable/disable checkbox selection and the
Next or Previous Key to select options with a colon (e.g.,
FORMAT: TIFF).
The options available for selections displayed on the screen will change
depending on the FORMAT and COMPRESSION that are selected.
Listed below are the selections and available options and their definition:
PREVIEW - Use this checkbox to enable or disable the generation of
a preview image for your scanned document. Default is enabled
(checkbox is checked)
FORMAT - Use this selection to determine which format you would
like to have the scanned image saved in, TIFF or JPEG. Default is
TIFF.
COMPRESSION (TIFF selected) - Use this selection to determine
the compression method to apply to the saved TIFF document.
Select one of the following:
PACKBITS - Saves the document as 24-bit RGB compressed.
INDEX - Saves the document as 8-bit indexed RGB (using
thresholding) compressed with PACKBITS.
INDEX ED - Saves the document as 8-bit indexed RGB (using error
diffusion) compression with PACKBITS
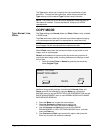
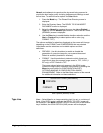
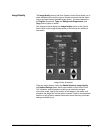
SCAN OPTIONS (COLOR)
9
COMPRESSION:
FORMAT:
: PACKBITS
: TIFF
PREVIEW
Scan Options (Color) Screens
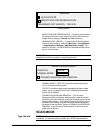
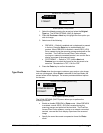
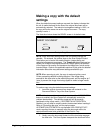
SCAN OPTIONS (COLOR)
9
COMPRESSION:
FORMAT:
INDEX
: TIFF
PALETTE:
DEFAULT
PREVIEW
Scan Options (Color) Screen – TIFF file format
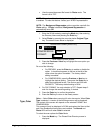
PALETTE - Is shown only when the selected FORMAT is TIFF and
the COMPRESSION is INDEX or INDEXED. Use this selection to
determine which palette to use during RGB-to-index color
conversion. Select one of the following:
• DEFAULT - Is the standard Windows system palette.