


Chapter 33 Anti-Spam
ZyWALL USG 100/200 Series User’s Guide
570
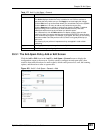
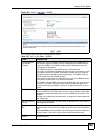
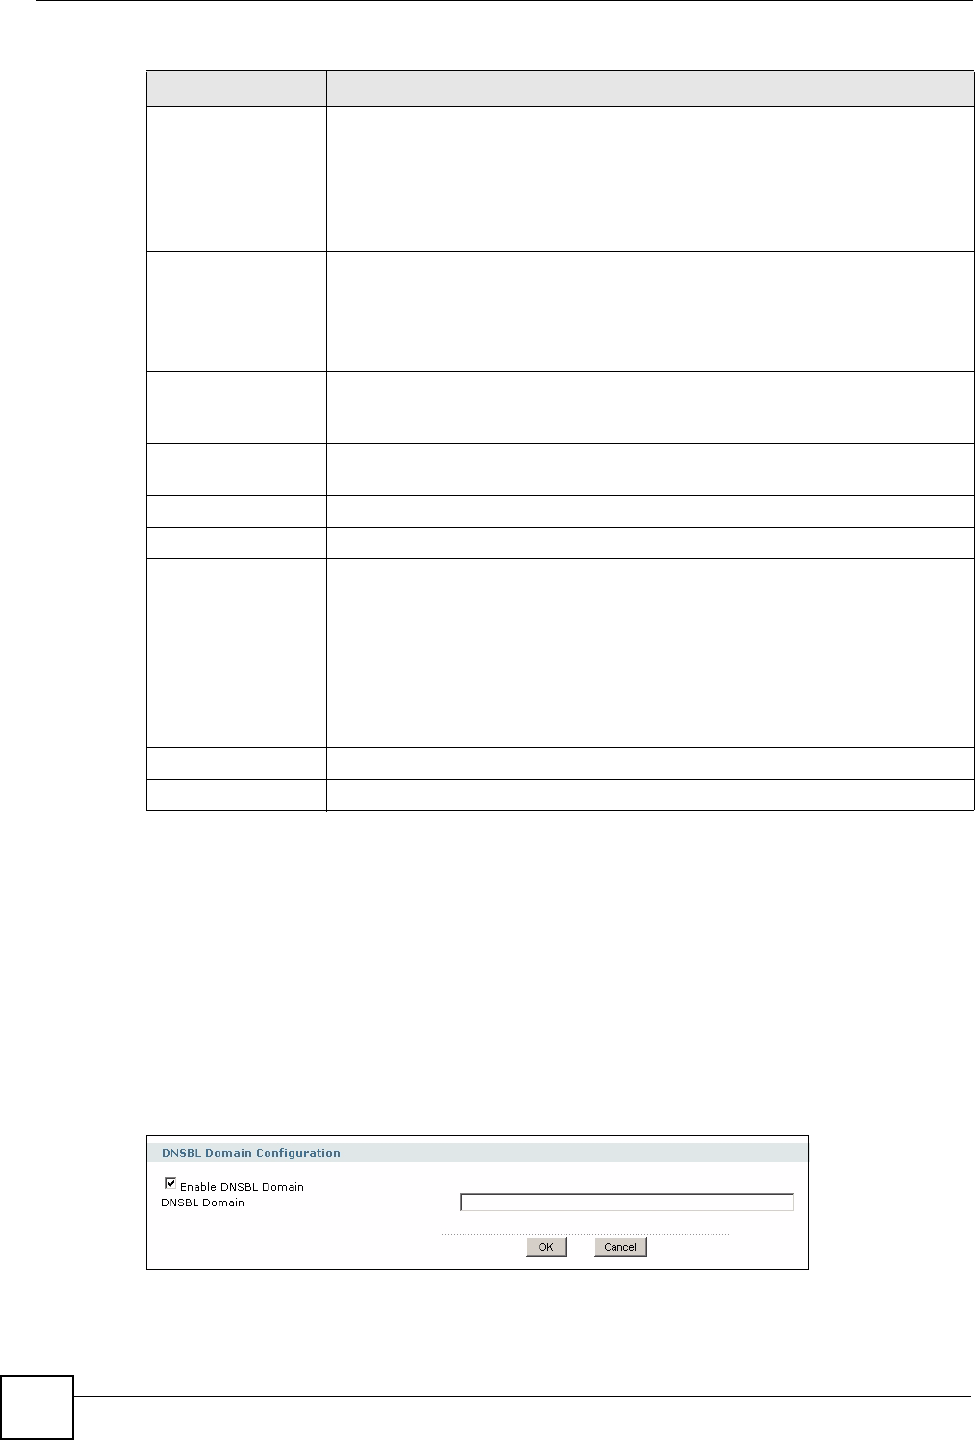
33.6.1 The DNSBL Add/Edit Screen
Click the Add or Edit icon in the Anti-X > Anti-Spam > DNSBL screen to display the
configuration screen as shown next.
Use this screen to specify a DNSBL (spam IP address blacklist). You need to enter the name of
a domain that maintains DNSBL servers. Some blacklists are more effective than others. You
want a list that catches most spam and avoids false positives (identifying legitimate e-mail as
spam). Different DNSBLs have different usage policies. For example, you can check http://
www.spamhaus.org or https://www.sorbs.net for more information.
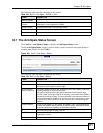
Figure 428 Anti-X > Anti-Spam > DNSBL > Add
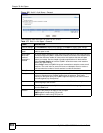
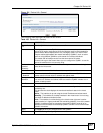
SMTP Select how the ZyWALL is to handle SMTP mail (mail going to an e-mail server)
if the queries to the DNSBL domains time out.
Select drop to discard SMTP mail.
Select forward to allow SMTP mail to go through.
Select forward with tag to add a DNSBL timeout tag to the mail subject of an
SMTP mail and send it.
POP3 Select how the ZyWALL is to handle POP3 mail (mail coming to an e-mail client)
if the queries to the DNSBL domains time out.
Select forward to allow POP3 mail to go through.
Select forward with tag to add a DNSBL timeout tag to the mail subject of an
POP3 mail and send it.
Timeout Value Set how long the ZyWALL waits for a reply from the DNSBL domains listed
below. If there is no reply before this time period expires, the ZyWALL takes the
action defined in the relevant Actions when Query Timeout field.
Timeout Tag Enter a message or label (up to 15 ASCII characters) to add to the mail subject
of e-mails that the ZyWALL forwards if queries to the DNSBL domains time out.
# This is the entry’s index number in the list.
DNSBL Domain This is the name of a domain that maintains DNSBL servers.
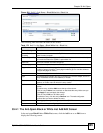
Add icon This column provides icons to add, activate / deactivate, edit, and remove
entries.
To add an entry, click the Add icon at the top of the column.
Click an entry’s Active icon to activate or deactivate the entry. Make sure you
click Apply to save and apply the change.
Click an entry’s Edit icon to edit the entry.
To delete an entry, click the entry’s Remove icon. The web configurator
confirms that you want to delete the entry.
Apply Click Apply to save your changes back to the ZyWALL.
Reset Click Reset to begin configuring this screen afresh.
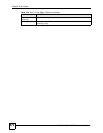
Table 182 Anti-X > Anti-Spam > DNSBL (continued)
LABEL DESCRIPTION