


AXIS A1001 Network Door Controller & AXIS Entry Manager
Alarm and Event Configuration
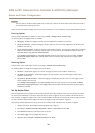
1. Go to Setup > Additional Controller Conguration > Events > Recipients and click Add.
2. Enter a descriptive name.
3. Select a recipient Type.
4. Enter the information needed for the recipient type.
5. Click Test to test the connection to the recipient.
6. Click OK.
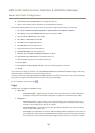
Recipient Types
The following recipients are available:
• HTTP
• HTTPS
• Email
• TCP
Set Up Email Recipients
Email recipients can be congured by selecting one of the listed email providers, or by specifying the SMTP server, port and
authentication used by, for example, a corporate email server.
Note
Some email providers have security lters that prevent users from receiving or viewing large amount of attachments, from
receiving scheduled emails and similar. Check the email provider’s security policy to avoid delivery problems and locked
email accounts.
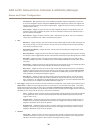
To set up an email recipient using one of the listed providers:
1. Go to Events > Recipients and click Add.
2. Enter a Name and select Email from the Type list.
3. Enter the email addresses to send emails to in the To eld. Use commas to separate multiple addresses.
4. Select the email provider from the Provider list.
5. Enter the user ID and password for the email account.
6. Click Test to send a test email.
To set up an email recipient using for example a corporate email server, follow the instructions above but select User dened as
Provider. Enter the email address to appear as sender in the From eld. Select Advanced settings and specify the SMTP server
address, port and authentication method. Optionally, select Use encryption to send emails over an encrypted connection. The server
certicate can be validated using the certicates available in the Axis product. For information on how to upload certicates,
see Certicates on page 42.
Create Schedules
Schedules can be used as action rule triggers or as additional conditions. Use one of the predened schedules or create a new
schedule as described below.
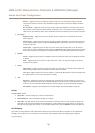
To create a new schedule:
1. Go to Setup > Additional Controller Conguration > Events > Schedules and click Add.
38