4. Installation
How to connect the iCon server ?
1. Use one of the 2 RJ45 connectors to connect the server to the installed network.
2. Use the USB ports to connect peripherals such as a mouse or a keyboard, ...
3. Use the PCMCIA slot to connect a Wireless LAN card or other optional inputs like Bluetooth, Modem cards,...
Note: recommended card type:
-The card should be a type II card.
-The card should be Windows
TM
XP compatible
When using the PS2 port to connect a keyboard always use the delivered PS2 splitter cable. Connecting the
keyboard directly to the projector will not work.
The Service output is only intended for service purposes (boot sequence).
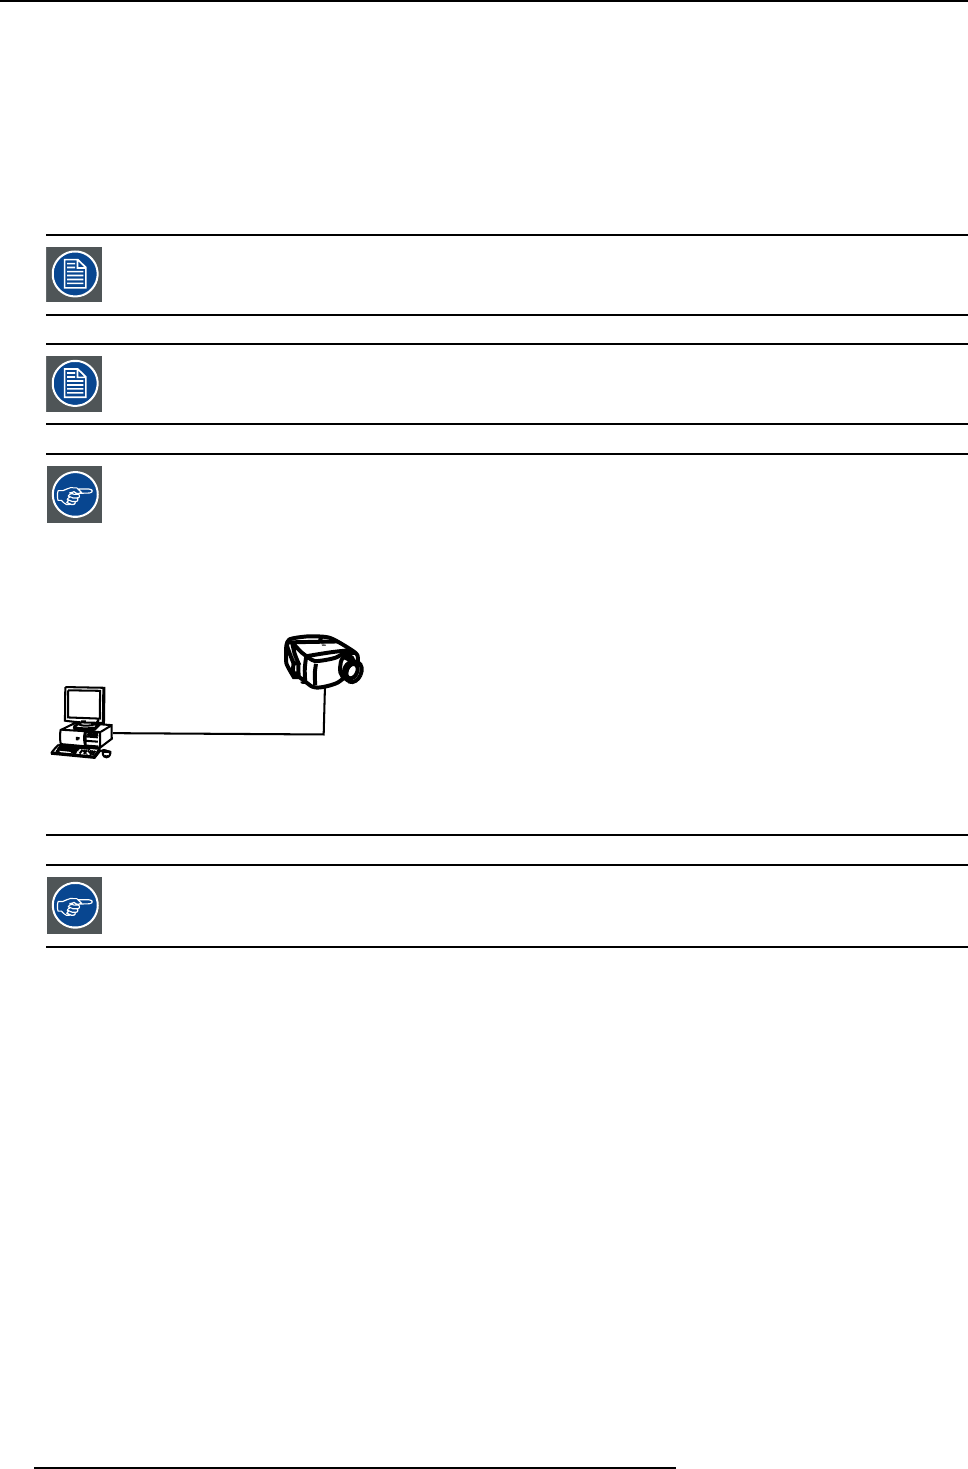
Point to point configuration
A
B
Image 4-13
In case of a temporary configuration (demo purposes) one can use the point to point configuration, the con-
nection being done via RJ45 connections using a crossed UTP cab
le.
The connection of the server section of the projector should be done in the same way as for a standard PC. If
necessary, contact your local IT administrator.
4.5.3 Signal connections
4.5.3.1 The input/output section
Input layers
The input/ouptut section is located at the front of the projector and has a modular architecture i.e. it is composed of 4 slots which
can be equipped with different input modules and one slot which can be used as an output :
The different available inputs :
• RGBHV & Video analog input module
• DVI & Computer (D15) input module
• HD-SDI module
The different available outputs :
24
R5976821 BARCO ICON 15/03/2007


