TELEPHONE FUNCTION SETTINGS
3-1
MFC 4550/6550MC/7550MC
OP-US-5.0
Information
3. TELEPHONE FUNCTION SETTINGS
This chapter is included in both the Setup Manual and this Operations Manual. If you
read the Setup Manual first, you may have completed these function settings already.
There are some settings, such as the date and time, you should set on your machine
before you begin using it. Once entered, these settings will remain in the machine
until you change them. You can begin customizing the settings by pressing Function
on the control panel. This activates the function mode and On-Screen Programming
prompts. You can complete a variety of settings in this mode.
Setting the Dialing Mode (Tone/Pulse)
Your machine supports both tone (multi-frequency) and pulse (rotary) dialing. It is
initially set to TONE, so you do not have to change the setting if you use that kind of
line. If you are using a pulse dial line, you can change the setting to PULSE by
following the steps below:
KEYS TO PRESS
1. Press Function.
(The MFC 4550 will skip to Step 4.)
2. Wait for two seconds.
(Only for MFC 6550MC/7550MC)
3. Press 1.
(Only for MFC 6550MC/7550MC)
4. Press 6.
5. Press 1.
After two seconds you will be prompted to
select pulse or tone.
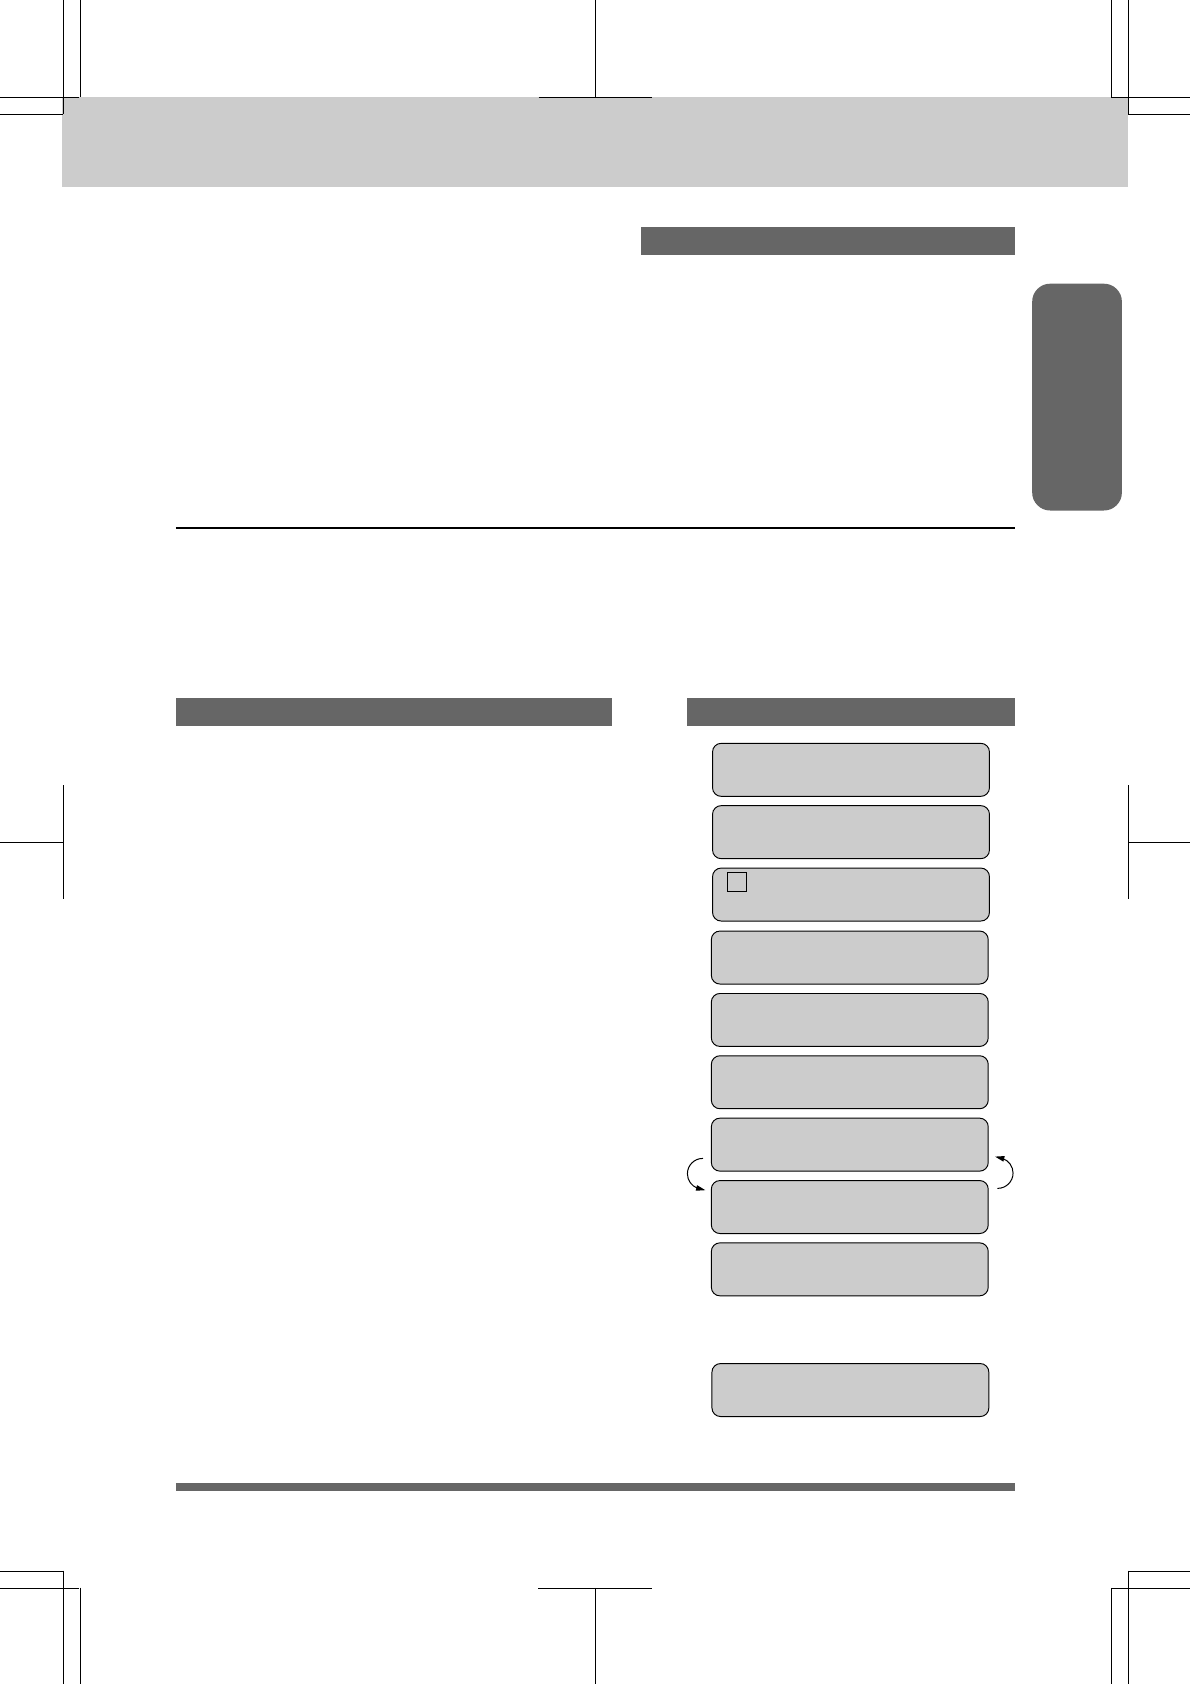
THE DISPLAY WILL SHOW:
01/01/1997 00:00
ONLINE
1.FAX
2.PRINTER
ENTER NO. & SET
1.FAX
6.TEL OPTIONS
1.TONE/PULSE
DIALING:TONE
SELECT { } & SET
DIALING:PULSE
6. Press Z (left arrow) or X (right arrow)
to find the dialing mode that matches
your telephone line.
Example: PULSE.
7. Press Set.
8. Press Stop to return to the date and time.
1.TONE/PULSE
(Only for MFC
6550MC/
7550MC)
(Only for MFC
6550MC/
7550MC)


