


130 Removing and Installing Parts
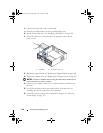
8
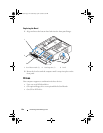
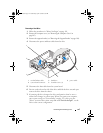
Connect the data cable to the system board.
9
Slide the second hard drive into the second hard drive bay.
10
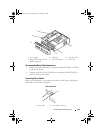
Install the first hard drive (see "Installing a Hard Drive" on page 128).
11
Check all cables to be certain that they are properly connected and
firmly seated.
12
Replace the support bracket (see "Replacing the Support Bracket" on page 164).
13
Replace the computer cover (see "Replacing the Computer Cover" on page 165).
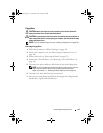
NOTICE: To connect a network cable, first plug the cable into the network port or
device and then plug it into the computer.
14
Connect your computer and devices to electrical outlets, and then turn
them on.
15
See the documentation that came with the drive for instructions on
installing any software required for drive operation.
16
Check the system setup for drive configuration changes (see "Entering
System Setup" on page 172).
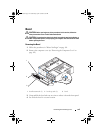
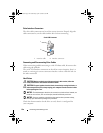
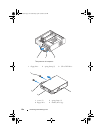
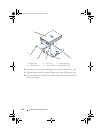
1 hard drive 2 shoulder screws (4)
2
1
book.book Page 130 Wednesday, April 16, 2008 3:33 PM