


154 Removing and Installing Parts
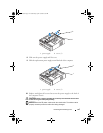
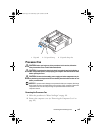
Installing the I/O Panel
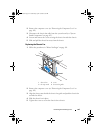
1
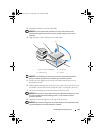
Place the I/O panel into the slot.
NOTICE: Take care not to damage the cable connectors and the cable routing clips
when sliding the I/O panel into the computer.
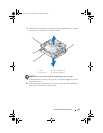
2
Align and slide the I/O panel clamp in the I/O panel clamp slot.
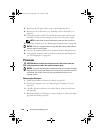
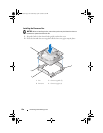
3
Replace and tighten the screw that secures the I/O panel.
4
Reconnect the cables to the system board.
5
Replace the bezel (see "Replacing the Bezel" on page 124).
6
Replace the computer cover (see "Replacing the Computer Cover" on
page 165).
7
Connect your computer and devices to an electrical outlet, and turn them on.
8
Verify that the computer works correctly by running the Dell Diagnostics
(see "Dell Diagnostics" on page 84).
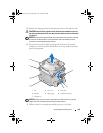
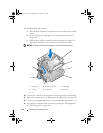
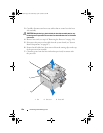
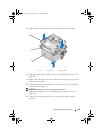
1 screw 2 I/O panel
2
1
book.book Page 154 Wednesday, April 16, 2008 3:33 PM