


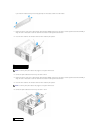
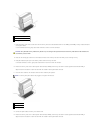


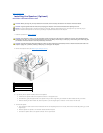

11. Gather the power supply bundles that stem from the power supply, for easy removal.
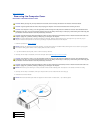
12. Slide the power supply towards the front of the computer to free it from the securing tabs on the computer chassis.
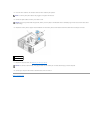
13. Slide the power supply toward the hard drive bay area, so that it will clear the protruding lip of the chassis and lift the power supply from the computer.
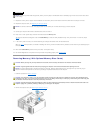
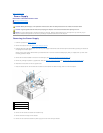
Replacing the Power Supply
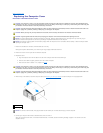
1. Slide the power supply into place, ensuring that the tabs on the rear wall of the computer chassis latch into place.
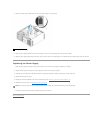
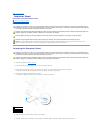
2. Replace the four screws that secure the power supply to the back of the computer chassis.
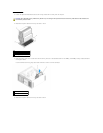
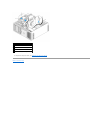
3. Reattach each of the DC power cable bundles that were previously connected, carefully rerouting them as you found them.
4. Replace the two hard drive bays.
5. Replace all hard drives installed in the interior hard drive bays (see Removing a Hard Drive (Hard Drive Bays 1-4)).
6. Replace the computer cover (see Replacing the Computer Cover).
7. Connect your computer and devices to electrical outlets, and turn them on.
Back to Contents Page
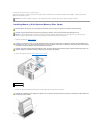
1
power supply screws (4)
NOTICE: To connect a network cable, first plug the cable into the network port or device and then plug it into the computer.