


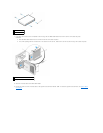

2. Remove the computer cover (see Removing the Computer Cover).
3. Remove the drive panel (see Removing the Drive Panel).
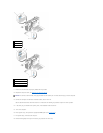
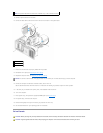
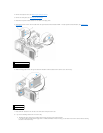
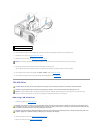
4. Disconnect the power and data cables from the back of the floppy drive.
5. Disconnect the other end of the drive cable from the system board connector labeled "DSKT." To locate system board connectors, see System Board
Components.
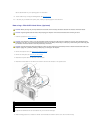
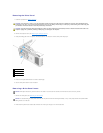
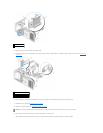
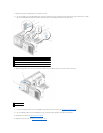
6. Slide the sliding-plate lever to the right to release the shoulder screw and slide the drive carrier out of the drive bay.
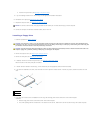
7. Press down the release lever on the side of the drive carrier and pull the drive out.
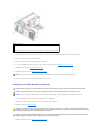
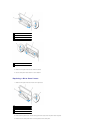
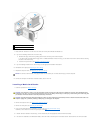
8. If you are not installing another drive in the drive bay:
a. Reinstall the empty drive carrier by sliding it back into the drive bay until it clicks into place.
If you later decide to install another floppy drive or a Media Card Reader in that drive bay, you can slide it into the drive carrier without removing
the carrier from the drive bay.
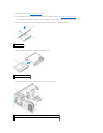
1
power cable
2
data cable
3
floppy-drive connector (DSKT)
1
floppy drive
2
floppy drive carrier