Drives 135
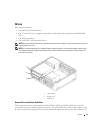
Removing a Floppy Drive
1
Follow the procedures in "Before You Begin" on page 21.
2
Remove the computer cover (see "Removing the Computer Cover" on page 90).
NOTE: Since the following steps do not require the complete removal of the optical drive, it is not necessary
to disconnect the cables connecting the optical drive.
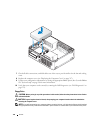
3
Remove the optical drive (if one exists) and carefully set it aside (see "Removing an Optical Drive" on
page 131).
NOTICE: Do not pull the drive out of the computer by the drive cables. Doing so may cause damage to cables and
the cable connectors.
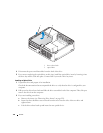
4
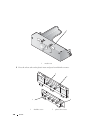
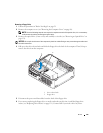
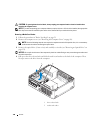
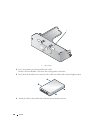
Pull up on the drive-release latch and slide the floppy drive the back of the computer. Then, lift up to
remove the drive from the computer.
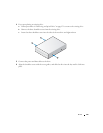
5
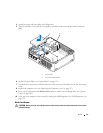
Disconnect the power and data cables from the back of the floppy drive.
6
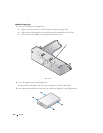
If you are not replacing the floppy drive or media card reader at this time, install the floppy drive
inserts (see "Replacing Drive Inserts" on page 131). Contact Dell if you need a drive bay insert.
1 drive release latch
2 floppy drive
1
2


