142 Drives
6
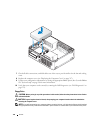
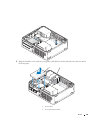
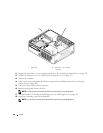
Replace the optical drive (see "Optical Drive" on page 131).
7
Check all cable connections, and fold cables out of the way to provide airflow for the fan and cooling
vents.
8
Replace the computer cover (see "Replacing the Computer Cover" on page 317).
9
Verify that your computer works correctly by running the Dell Diagnostics (see "Dell Diagnostics" on
page 353).
Hard Drive
CAUTION: Before you begin any of the procedures in this section, follow the safety instructions in the Product
Information Guide.
CAUTION: To guard against electrical shock, always unplug your computer from the electrical outlet before
removing the computer cover.
NOTICE: To avoid damage to the drive, do not set it on a hard surface. Instead, set the drive on a surface, such as
a foam pad, that will sufficiently cushion it.
Removing a Hard Drive
1
If you are replacing a hard drive that contains data you want to keep, back up your files before you
begin this procedure.
2
Check the documentation for the drive to verify that it is configured for your computer.
3
Follow the procedures in "Before You Begin" on page 21.
4
Remove the computer cover (see "Removing the Computer Cover" on page 90).
NOTE: Since the following steps do not require the complete removal of the optical drive and the floppy drive, it is
not necessary to disconnect the cables connecting the two drives.
5
Remove the optical drive from the bay and carefully set it aside (see "Optical Drive" on page 131).
6
Remove the floppy drive from the 3.5-inch bay and carefully set it aside (see "Floppy Drive" on
page 134).
7
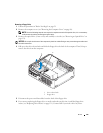
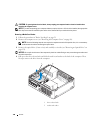
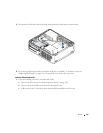
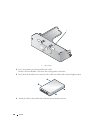
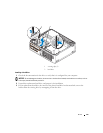
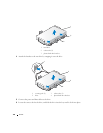
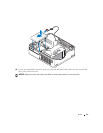
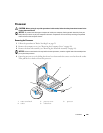
Press in on the two plastic securing clips on each side of the drive and slide the drive towards the back
of the computer.
NOTICE: Do not pull the drive out of the computer by the drive cables. Doing so may cause damage to cables and
the cable connectors.
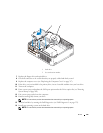
8
Lift the drive out of the computer and disconnect the power and data cables from the drive.


