


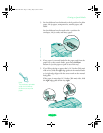
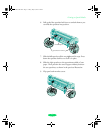
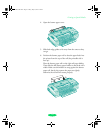
Printing on Special Media
3-21
Adjust the paper’s loading position if you notice that printing is
too high or low on the page and the position cannot be
corrected in your software program. You can even set separate
loading positions for continuous paper, manually fed paper, or
paper tray fed paper. The settings you make remain in effect
until you change them again, even when you turn off the
printer.
If you’re using continuous paper and the perforation does not
align with the printer’s tear-off edge when you’re done printing,
you can use these buttons to adjust the tear-off position.
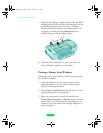
Adjusting the Loading Position
Follow these steps to adjust the loading position of your paper:
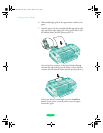
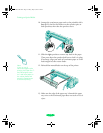
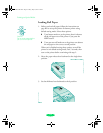
1. If you have continuous and single sheet paper loaded at the
same time, the loading position you adjust is determined by
the setting of the paper-release lever.
For continuous paper, set the paper-release lever backward
to the continuous paper position.
For paper in the sheet feeder or the manual feeder, set it
forward to the single sheet position.
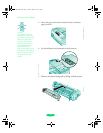
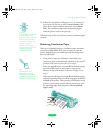
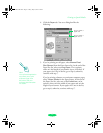
2. Press the
Load/Eject button to load a sheet of paper or load
the first continuous sheet to the top-of-form position.
3. Press the
Micro Adjust U button to feed paper backward
or the
Micro Adjust D button to feed paper forward. Press
either button as many times as necessary to adjust the
position. When the adjustment reaches the maximum
setting for your printer, it does not move further.
4. Follow the instructions in Chapters 1 or 2 as necessary to
send a print job.
The loading position you select remains in effect until you
change it again, even when you turn off the printer.
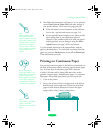
Caution:
Never use the knob on
the left side of the printer
to adjust the loading or
tear-off positions. This
would damage your
printer and cause it to
lose the top-of-form
position.
Loire-PLUS.BK.book Page 21 Friday, May 2, 2003 2:56 PM