


1-39
Setting Up the Printer | 1-39
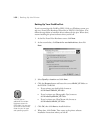
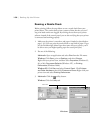
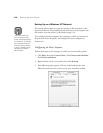
Aligning the Print Head
Before you use the printer, you should align the print head to ensure
accurate, clean printouts. Make sure you’ve already run a nozzle check, as
described on page 1-36. If any nozzles are clogged, the print head alignment
patterns won’t print correctly and your alignment won’t be accurate.
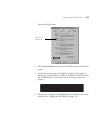
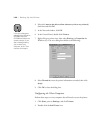
1. Make sure the printer is turned on and paper is loaded, as described on
page 1-16. (Use the roll of Doubleweight Matte Paper that came with
the printer.)
2. Press the
SelecType
button until
HEAD ALIGNMENT MENU
is
displayed.
3. Press the
Item
button.
PAPER THICK=STD
appears on the display.
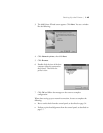
4. Press the
Enter
button. You see
ALIGNMENT = Bi-D LC
on the display.
5. Press the
+
button so that
ALIGNMENT = Uni-D
appears.
6. Press the
Enter
button to print the alignment pattern.
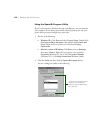
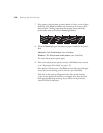
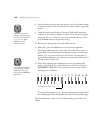
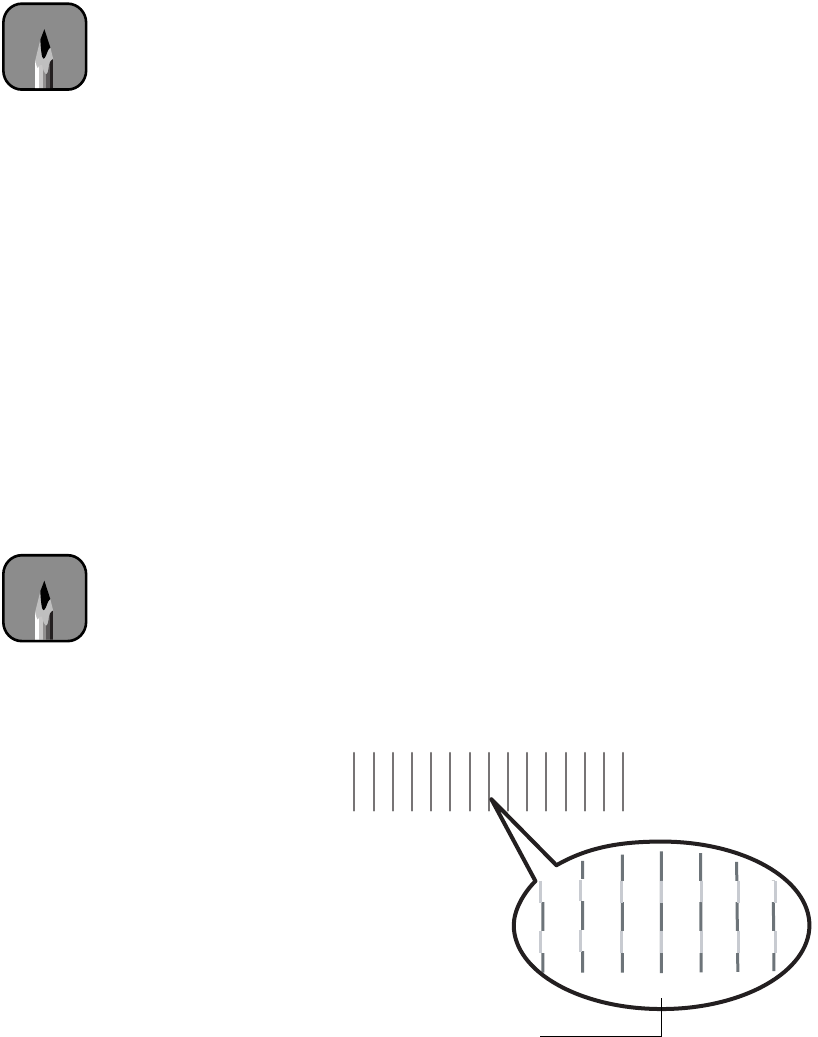
7. Examine the first row (marked
#1 C
). You see a series of patterns similar
to the one below across the width of the paper. Use your own eye loupe
or the one that came with the printer to determine which line is the best.
(Each line is composed of two overlapping colors. Look for the line in
which the colors overlap most evenly. In the example below, number 8
is the best line.)
Note
Be sure to perform a
Uni-D (uni-directional)
alignment first, as
instructed, before
performing the Bi-D
alignment. You may have
to perform each
alignment more than once
for best results.
Note
You must use at least a
10
×
eye loupe to check
the pattern.
31
4
5 6 7 8 9 10 11 12 13 14 152
678910
Number 8 is the best line