6. WEB FUNCTIONS
6-10
How to delete access code
Delete a single access code, multiple, or all access codes.
1. Display the access code registration screen.
2. Put a [9] in the checkbox on the left side of the access code to delete (multiple
access codes can be selected). To select all access code, put a [9] in the check-
box beside the [Code] title.
3. Click the [Delete] button.
4. Click the [OK] button.
5. Click the [OK] button again to erase the message.
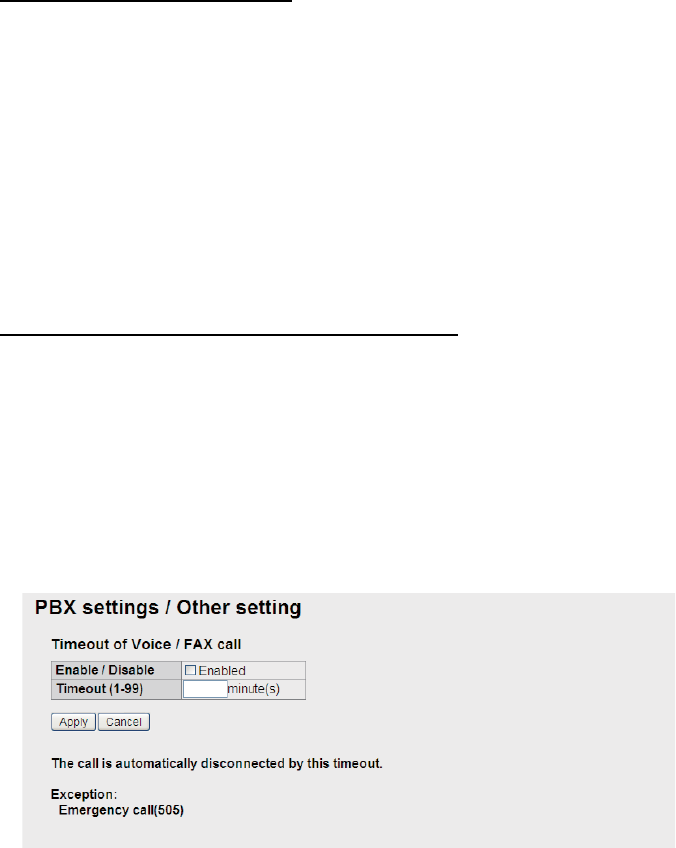
How to set the automatic timeout function
The automatic timeout function automatically disconnects a voice call (with the excep-
tion of emergency call type 505) when the receiver is left unhung for the specified
number of minutes. This feature is useful for prevent unwanted charges because the
phone is left off hook.
1. Click [Settings] in the menu bar.
2. Click [PBX settings].
3. Click [Other setting] to show the [PBX settings/Other setting] window.
4. To enable the timeout feature, check [Enabled].
5. Enter the timeout (1-99 minutes) in the [Timeout] box.
6. Click the [Apply] button. The message "Setting Completed." appears.
7. Click the [OK] button to erase the message.
